Create your first site
This guide takes you from an empty account to a live website, step by step. As an example we'll build the site for Willow Lane Bakery, a neighborhood bakery in Portland. Follow along with your own business details.
It takes about five minutes. You don't need to know how to code or design.
In short
- On My sites, press New site and choose the type and address.
- Open the editor and describe your business to the assistant in a few sentences; it builds the page.
- Press Publish.
Step by step
Create a new site
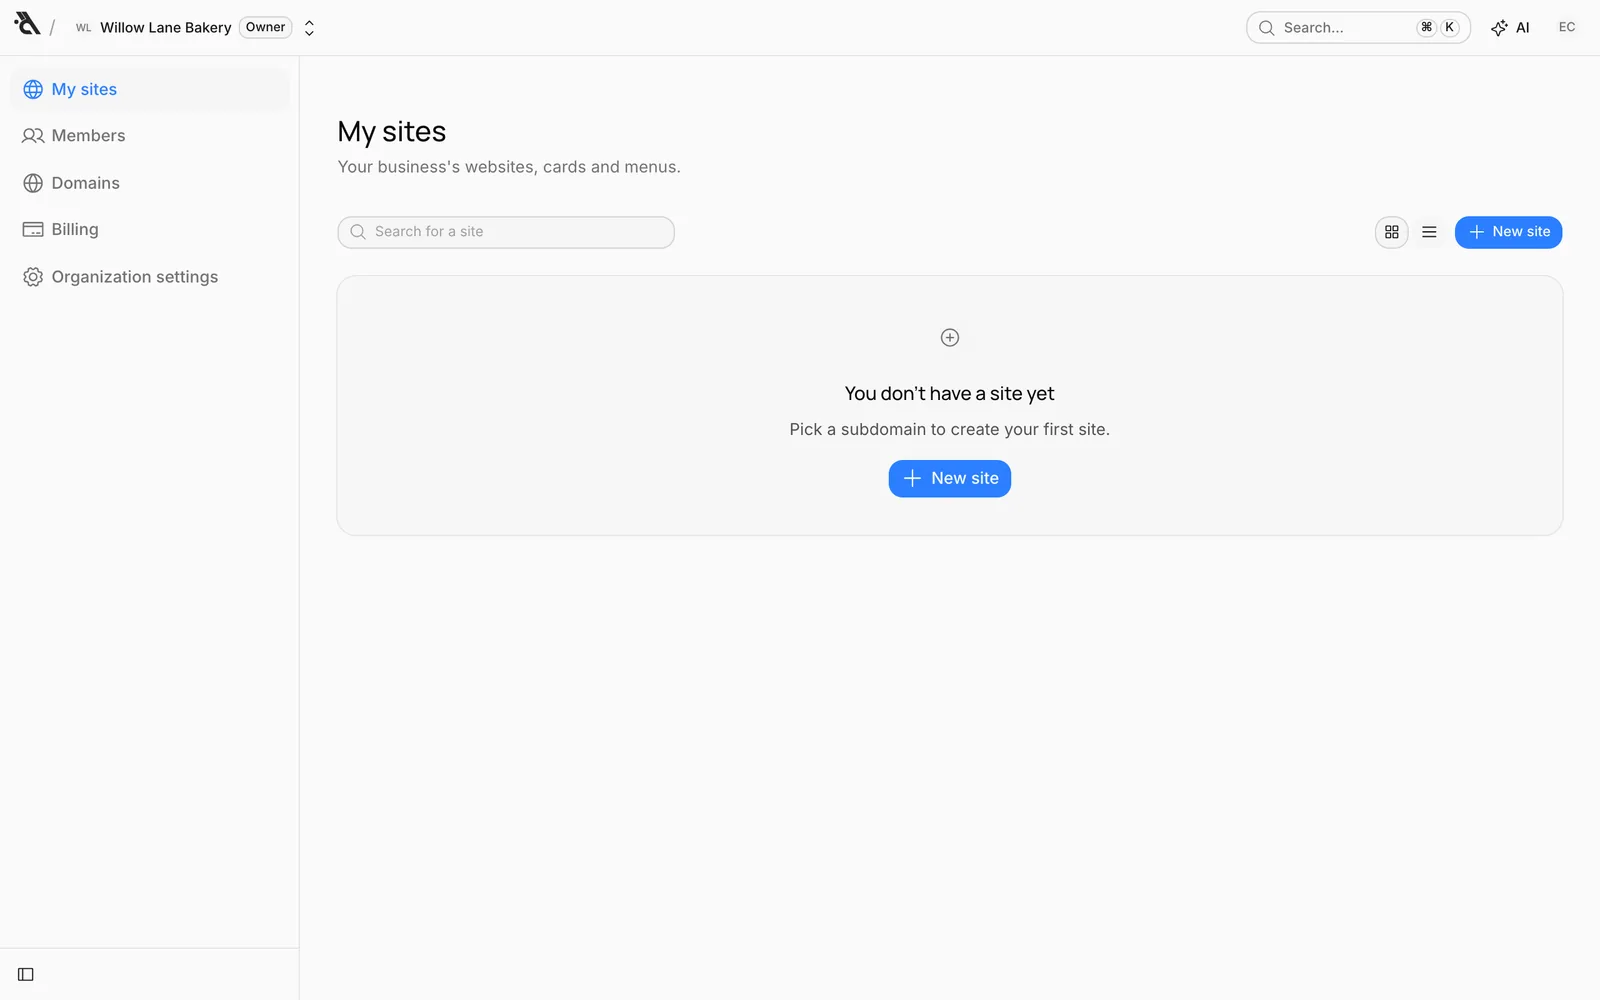
When you sign in, the My sites screen opens. If you don't have a site yet, it says You don't have a site yet in the middle. Press New site in the top right or in the middle.
Choose the type and the address
The window that opens asks for two things:
- Type: For a business website, choose Site. A Card is a single-page digital business card, and a Menu is a restaurant or café menu opened from a QR code. See Digital business card and QR menu for those.
- Subdomain: Your site's address.
.bunnyrain.appis added after the name you type; in our example the address becamewillow-lane-bakery.bunnyrain.app.
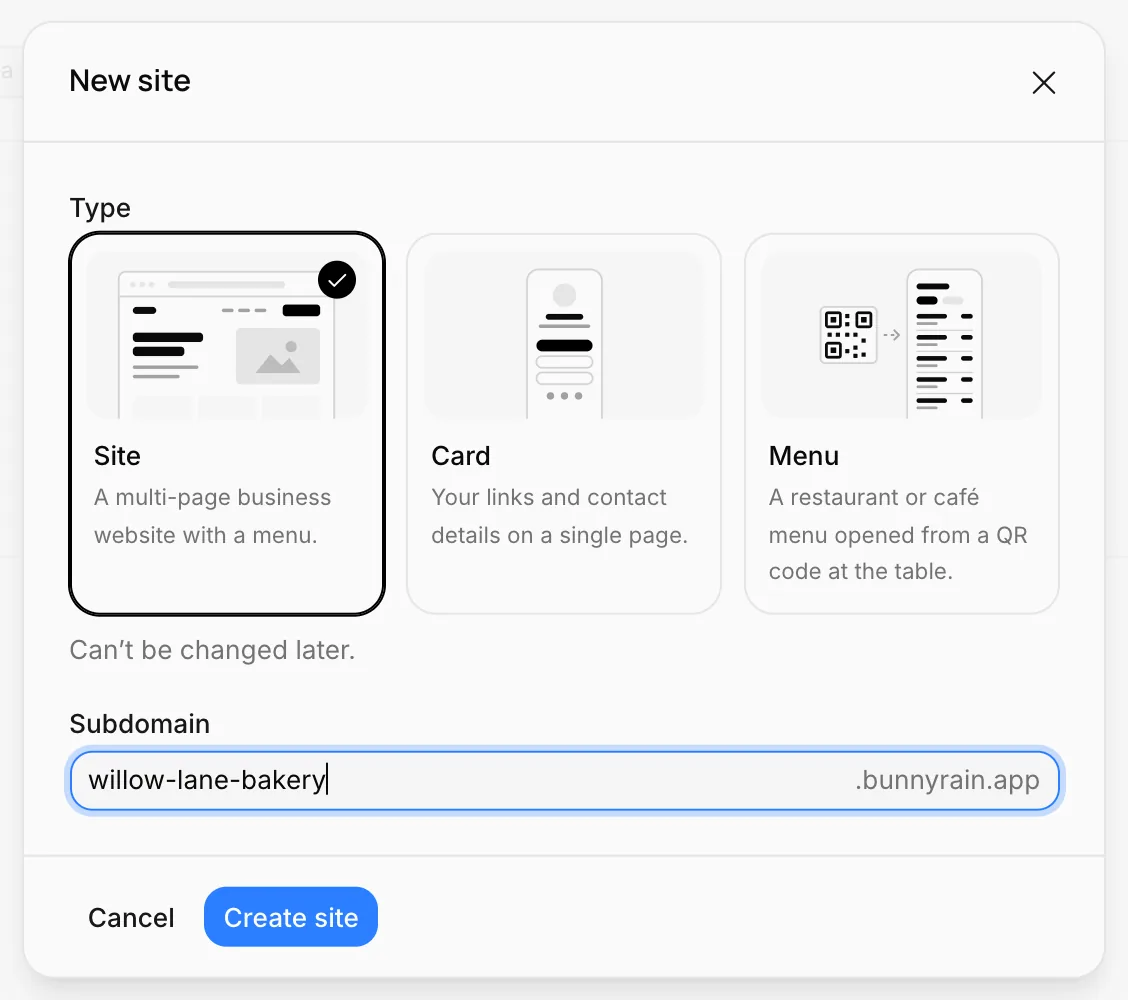
Only lowercase letters, numbers and hyphens are allowed. The address must be at least 3 characters long and can't start or end with a hyphen.
When you're done, press Create site.
willowlanebakery.com) later, but the bunnyrain.app address stays the same.Go from the overview to the editor
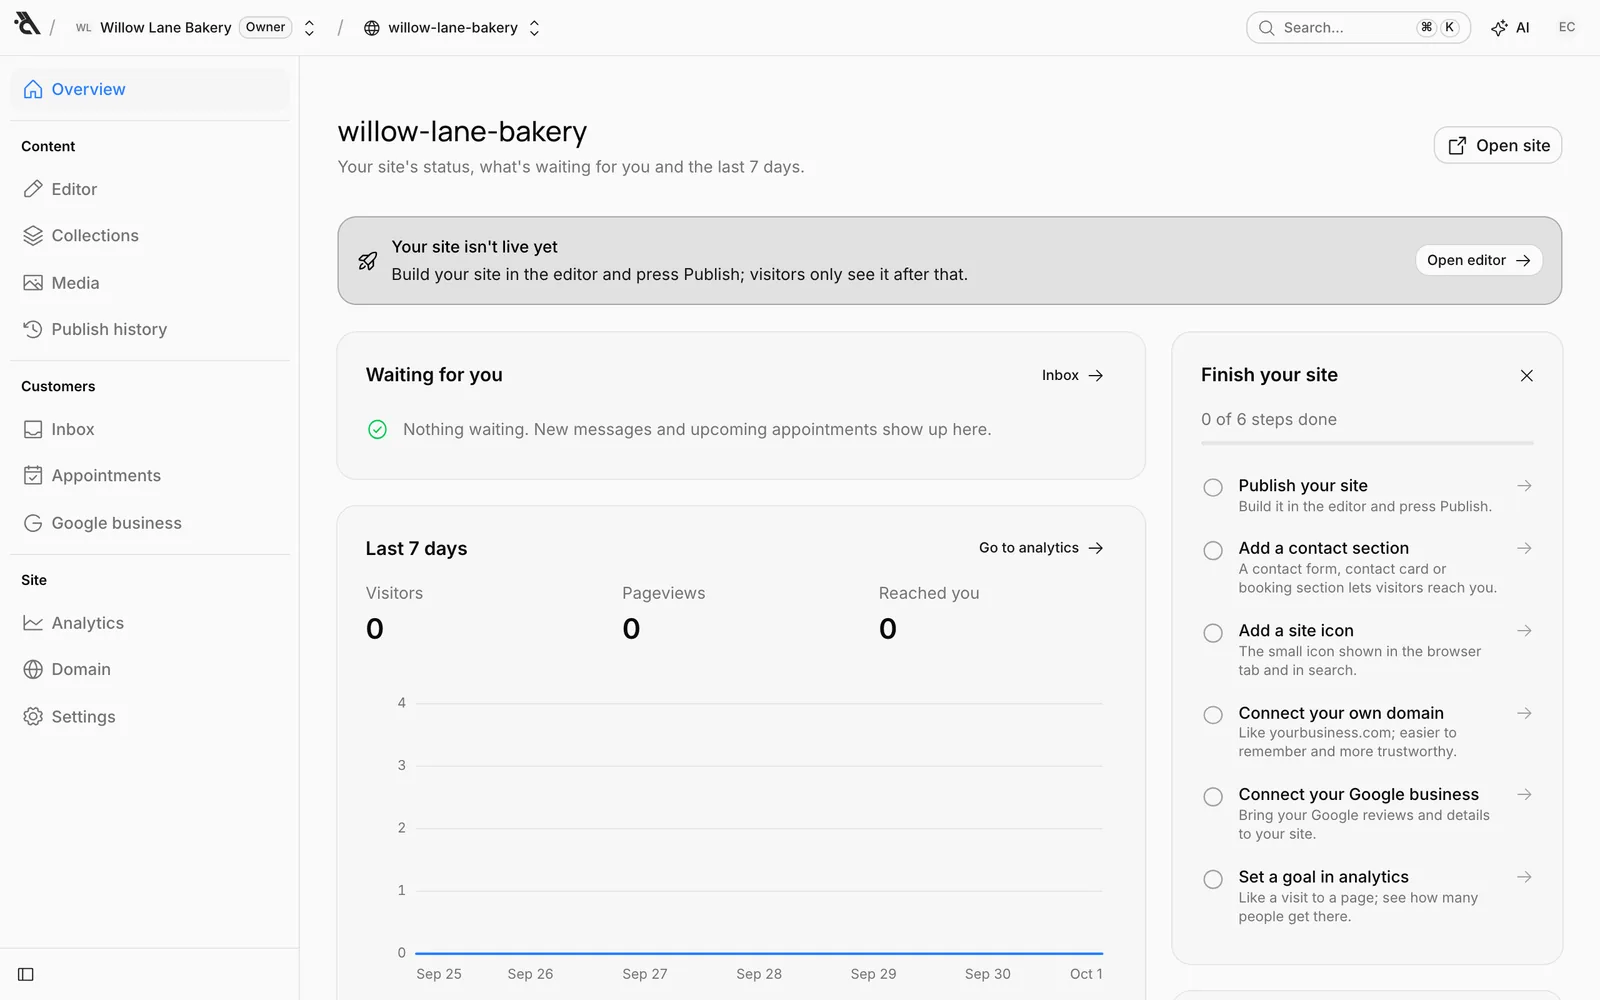
Once the site is created, its Overview screen opens. The banner at the top tells you the site isn't live yet. The Finish your site list on the right shows the steps waiting for you; they're checked off as you go.
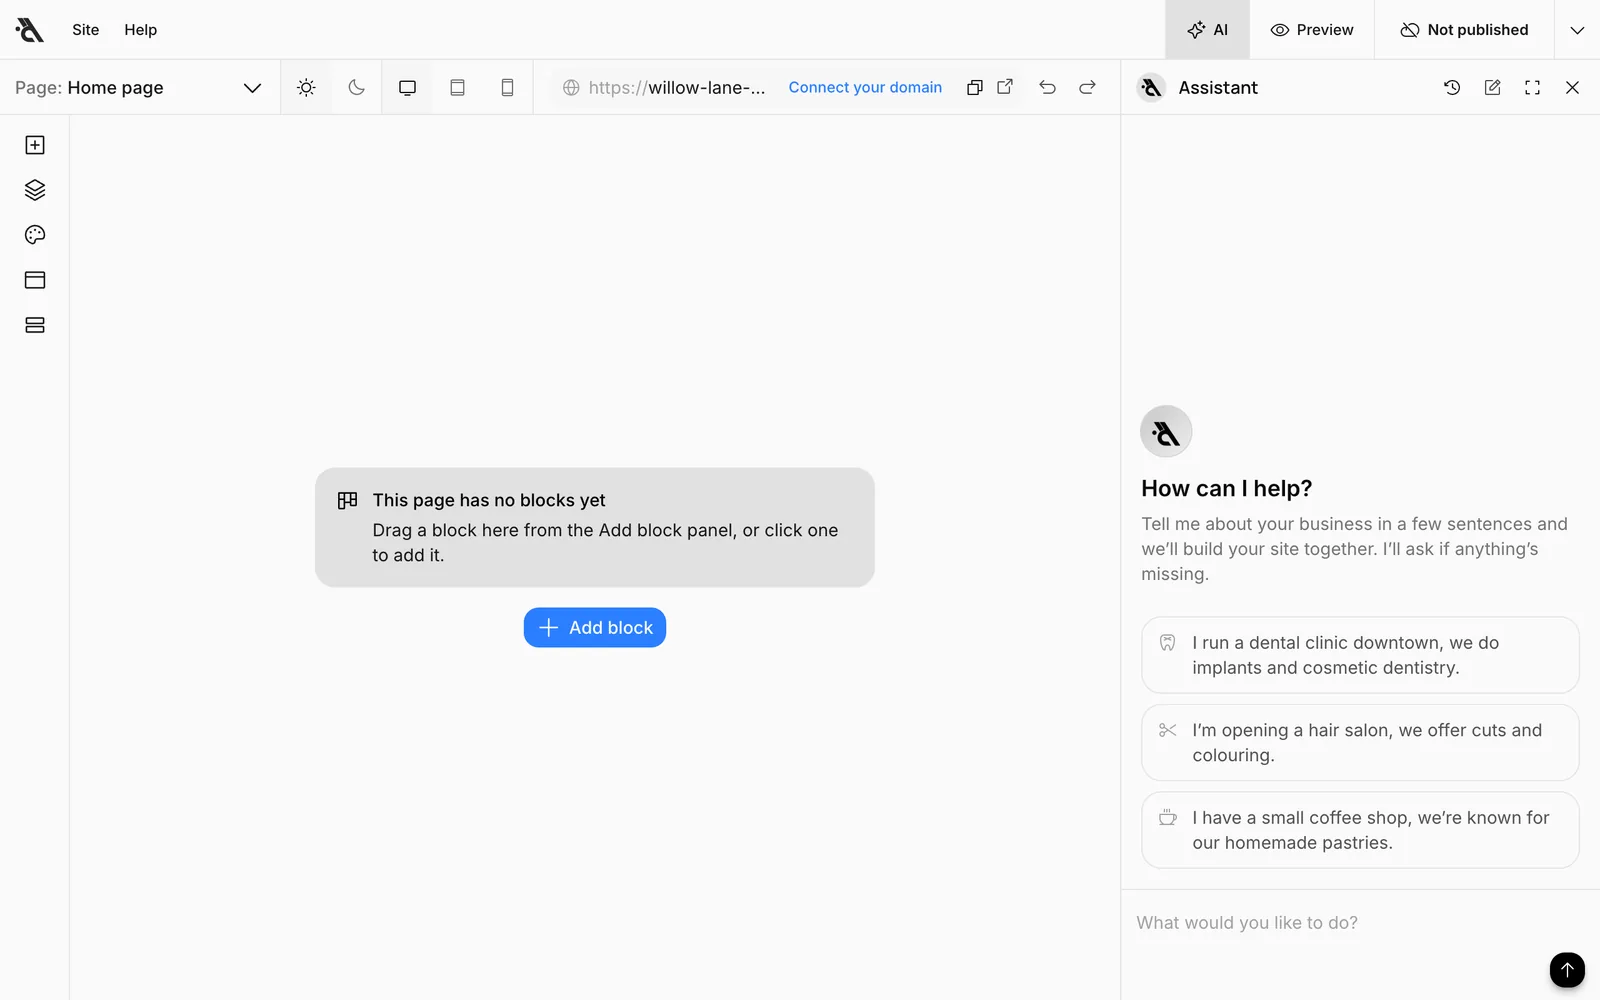
Press Open editor. The editor opens with your site's empty home page, the page visitors see when they open your site.
Describe your business to the assistant
Press the AI button in the top right of the editor. The Assistant panel opens on the right. Describe your business in a few sentences in the What would you like to do? box at the bottom and send it.
For Willow Lane Bakery we wrote:
I run Willow Lane Bakery, a small neighborhood bakery on Willow Lane in Portland, Oregon. We bake sourdough bread, cinnamon rolls and seasonal pies every morning. We're open Tuesday to Sunday, 7 am to 6 pm. We're not on Google Maps yet.
A good description includes:
- Your business name and where you are
- What you sell or which services you offer
- Your opening hours
- Your phone number and address, if you have them
If something is missing, the assistant asks. Sometimes it shows a question with options to make answering easier; just press one of them.
Review the result
The assistant builds your page: a hero, an about section, your products or services, photos, opening hours and a contact form. In the chat it also tells you what it did and what's still missing.
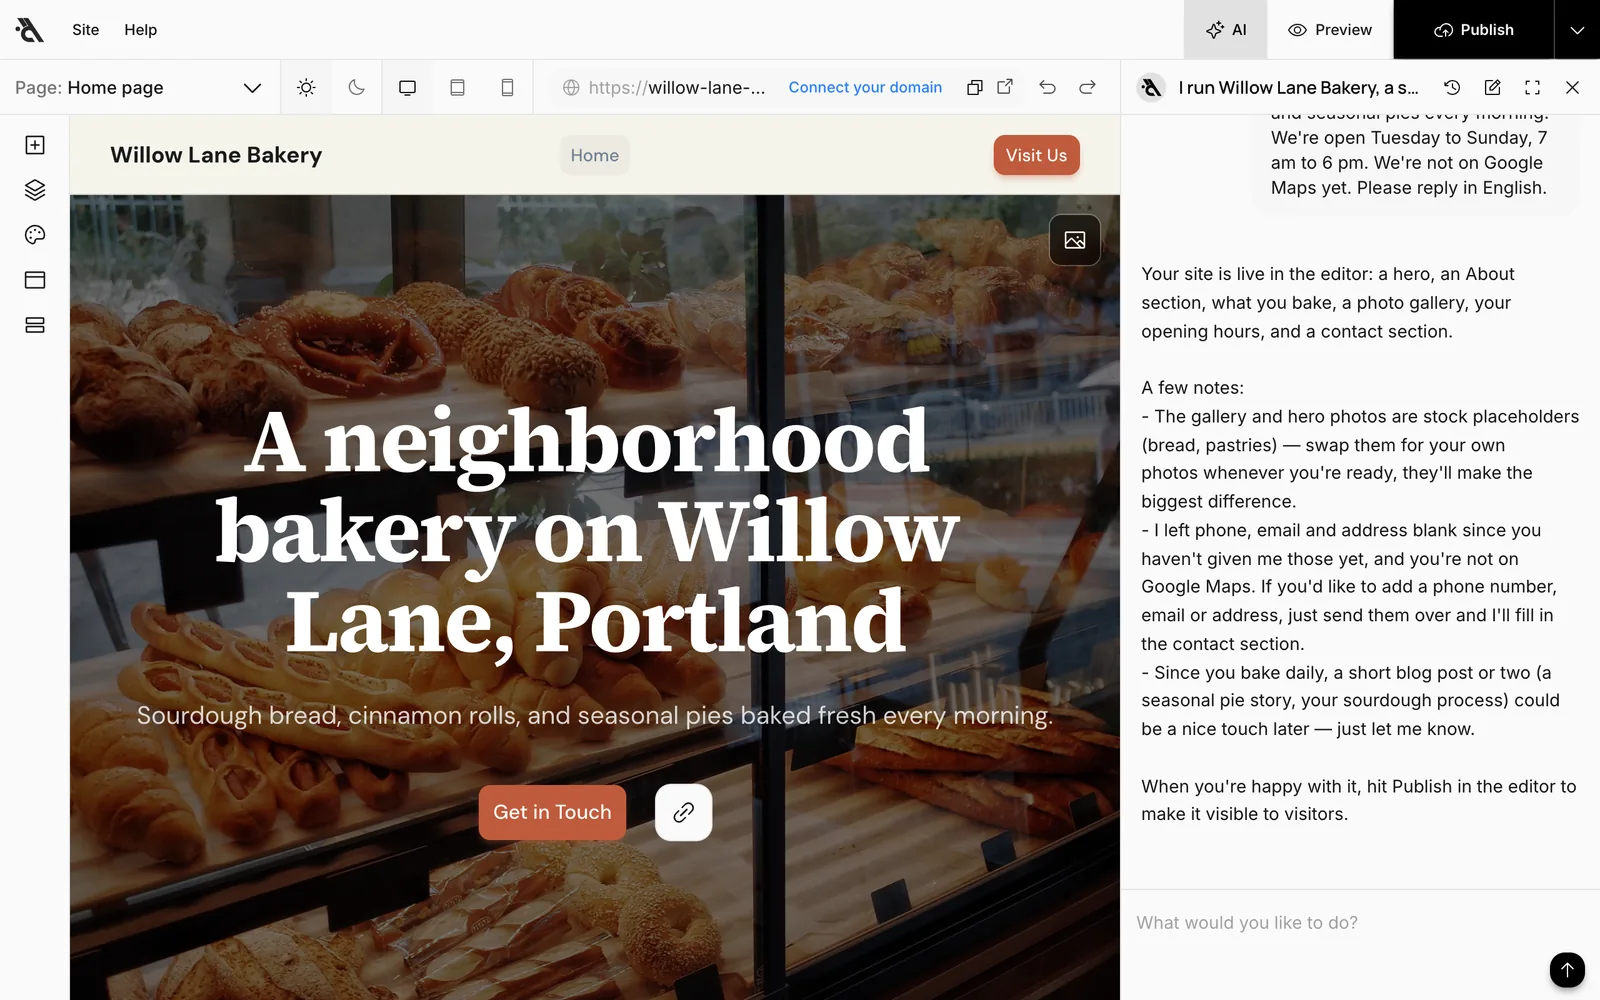
The photos are sample images chosen to get you started; we recommend replacing them with your own. You can click any text on the page and edit it directly. You can also ask the assistant for changes, such as "Add our phone number: (503) 555-0147" or "Make the hero heading shorter".
Publish your site
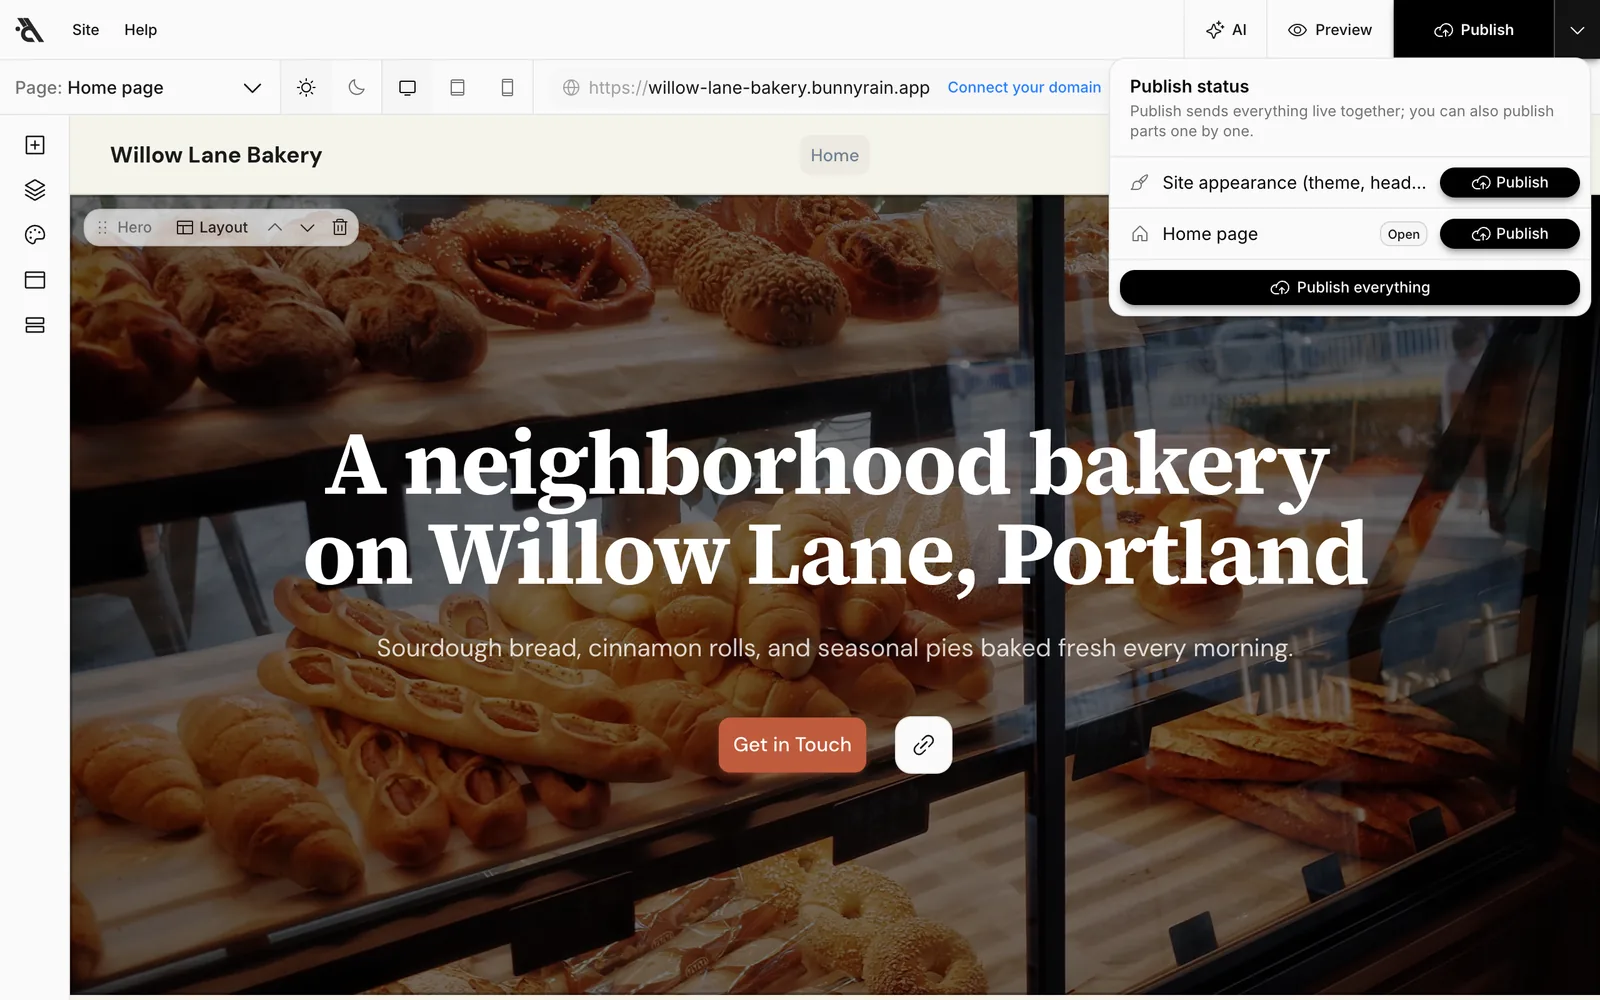
Press Publish in the top right. When the Site published notification appears, your site is public and the button says Live.
The arrow next to it opens the Publish status menu. There you can publish the site's look (theme, header and footer) and each page separately. You don't need this menu for your first publish; the main button publishes everything together.
See your site
Your site now opens at its address; in our example that's willow-lane-bakery.bunnyrain.app. You can open it in a new tab with the arrow button in the editor's address bar.
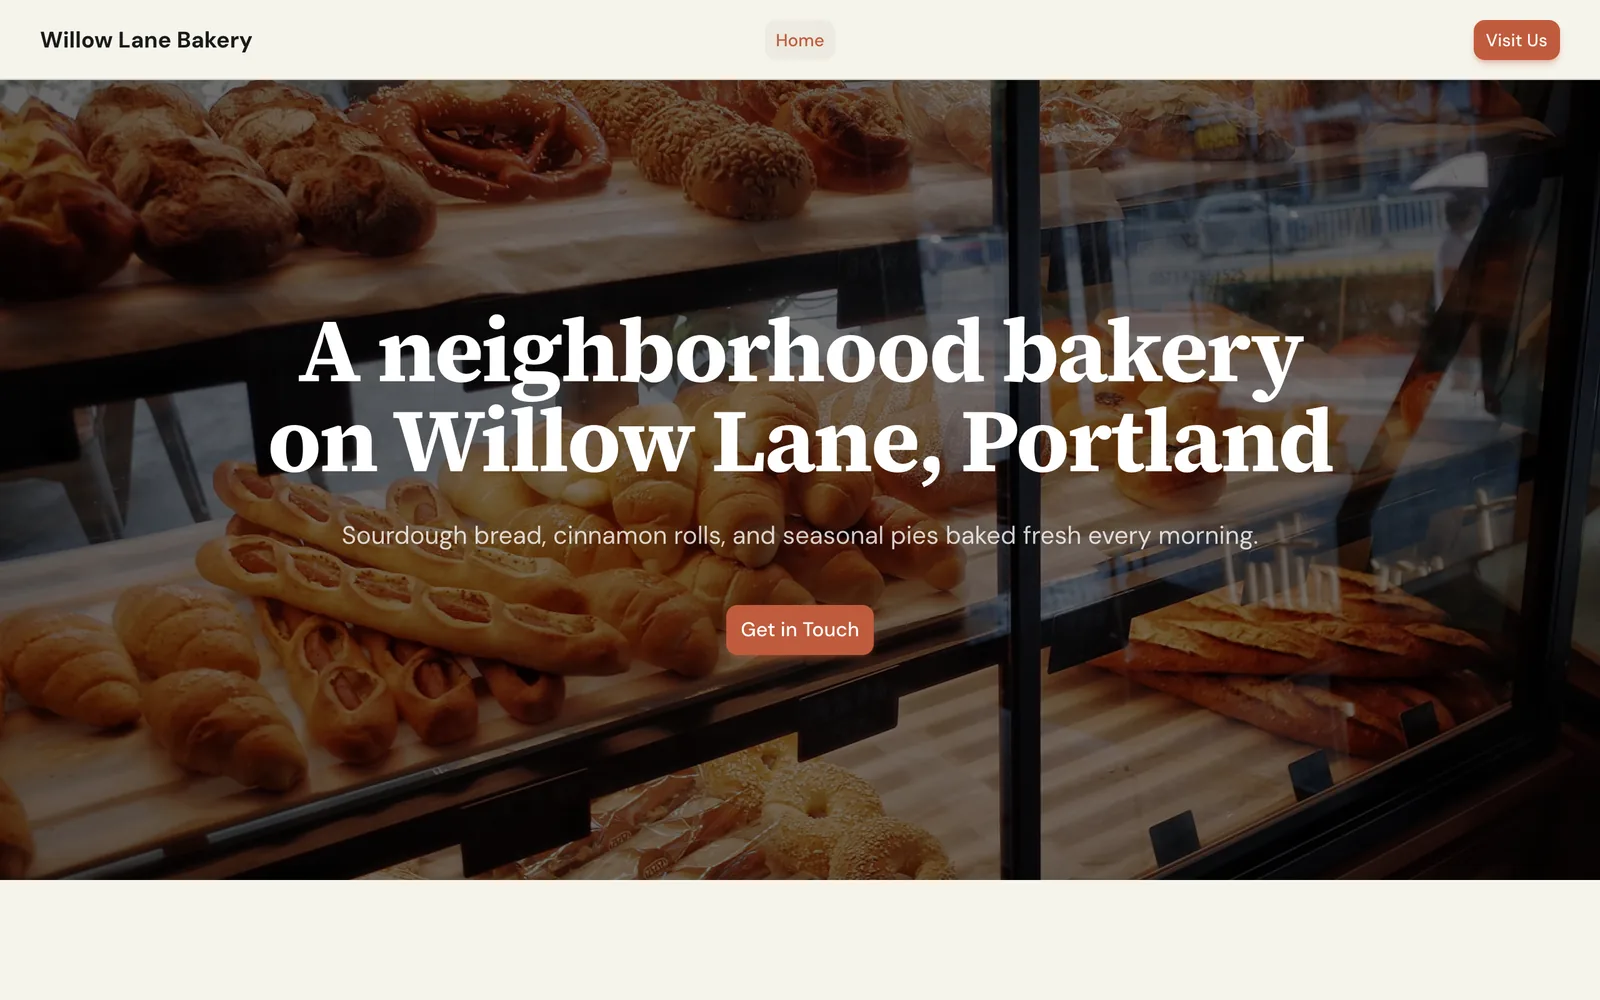
Your changes in the editor are saved automatically (Saved appears in the top right), but visitors don't see them until you press Publish again. That way you can work on your site at your own pace and publish when you're ready. See Publishing and publish history for details.
What's next
Your site is live. The Finish your site list on the Overview screen shows the next steps:
- Add a site icon: The small icon in the browser tab and in search results. See Site settings.
- Connect your own domain: An address like
willowlanebakery.comis easy to remember and builds trust. See Connect your own domain. - Connect your Google business: Your Google reviews and business details come to your site. See Google business.
To get to know the editor better, continue with Editor tour.