Blog
The blog is how you share news, recipes, tips or announcements from your business. Regular posts also help people find you on Google. Every site has a blog ready to go; when you publish your first post, the /blog page appears on your site automatically.
The Posts screen
Press Collections in the sidebar and open Blog in the list. The Posts screen lists your posts with their status: Draft, Published, Published · has changes or Scheduled.
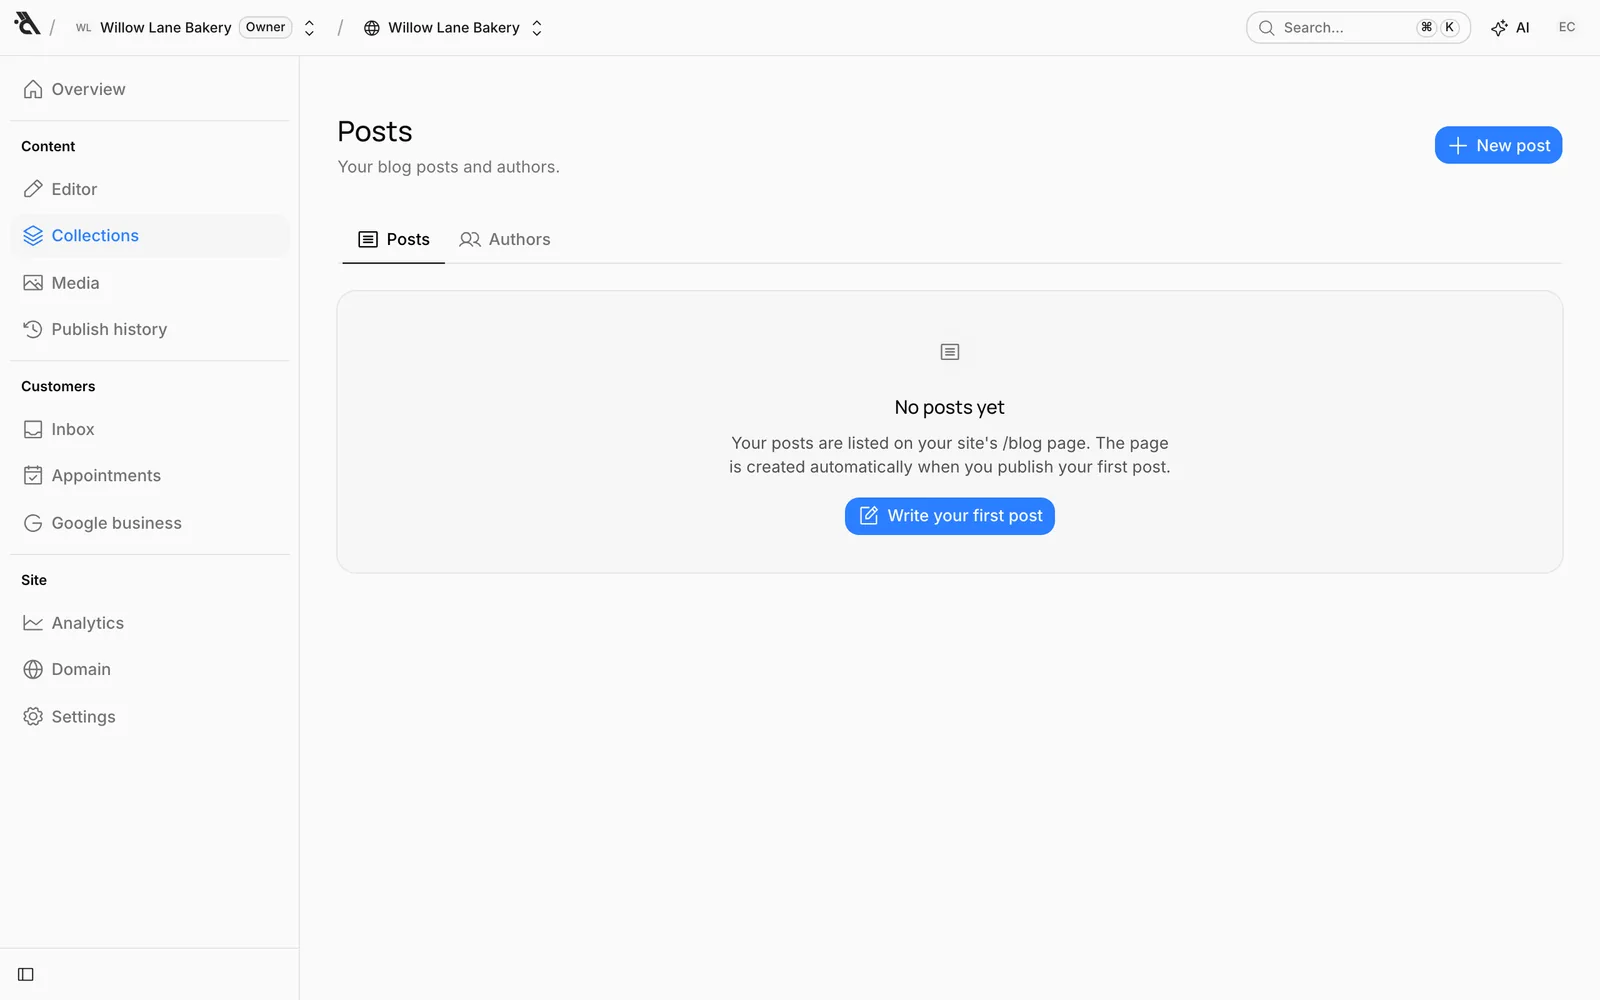
To start a new post, press New post.
The post editor
You write the post in your site's own look: with your header, menu and footer, exactly as visitors will see it. No separate preview needed.
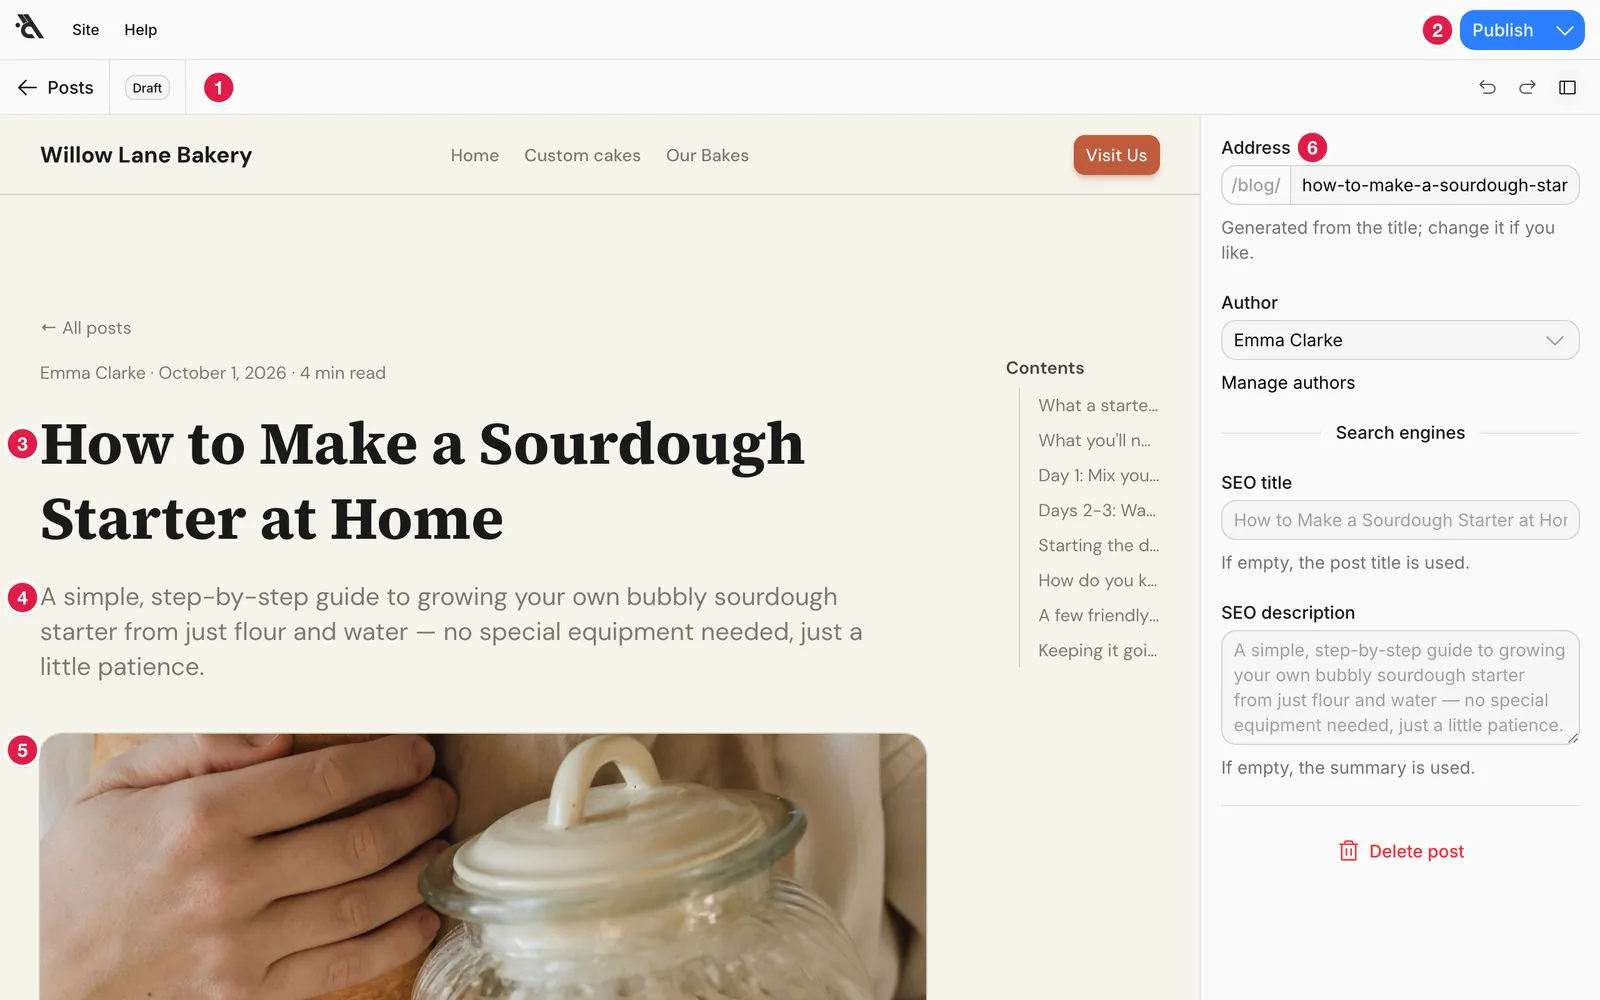
- Back to the Posts list, and the post's status (Draft).
- Save status and Publish. Once the post is live, the button says Update. The arrow next to it opens the scheduling options.
- Title
- Summary: The short intro under the title. It's shown in the blog list and in Google results.
- Cover image: Choose an image with Add cover image. It's shown in the list and when the post is shared on social media.
- Post settings: The post's address, its author, the title and description for search engines, and deleting the post. Opens and closes with the button in the top right.
Start writing the body below the cover. When you select text, a formatting toolbar appears: Heading and Subheading, bold, italic, underline, link, lists, Quote, Divider and Add image. You can format from the keyboard too: at the start of a line, ## makes a heading, - a list and > a quote.
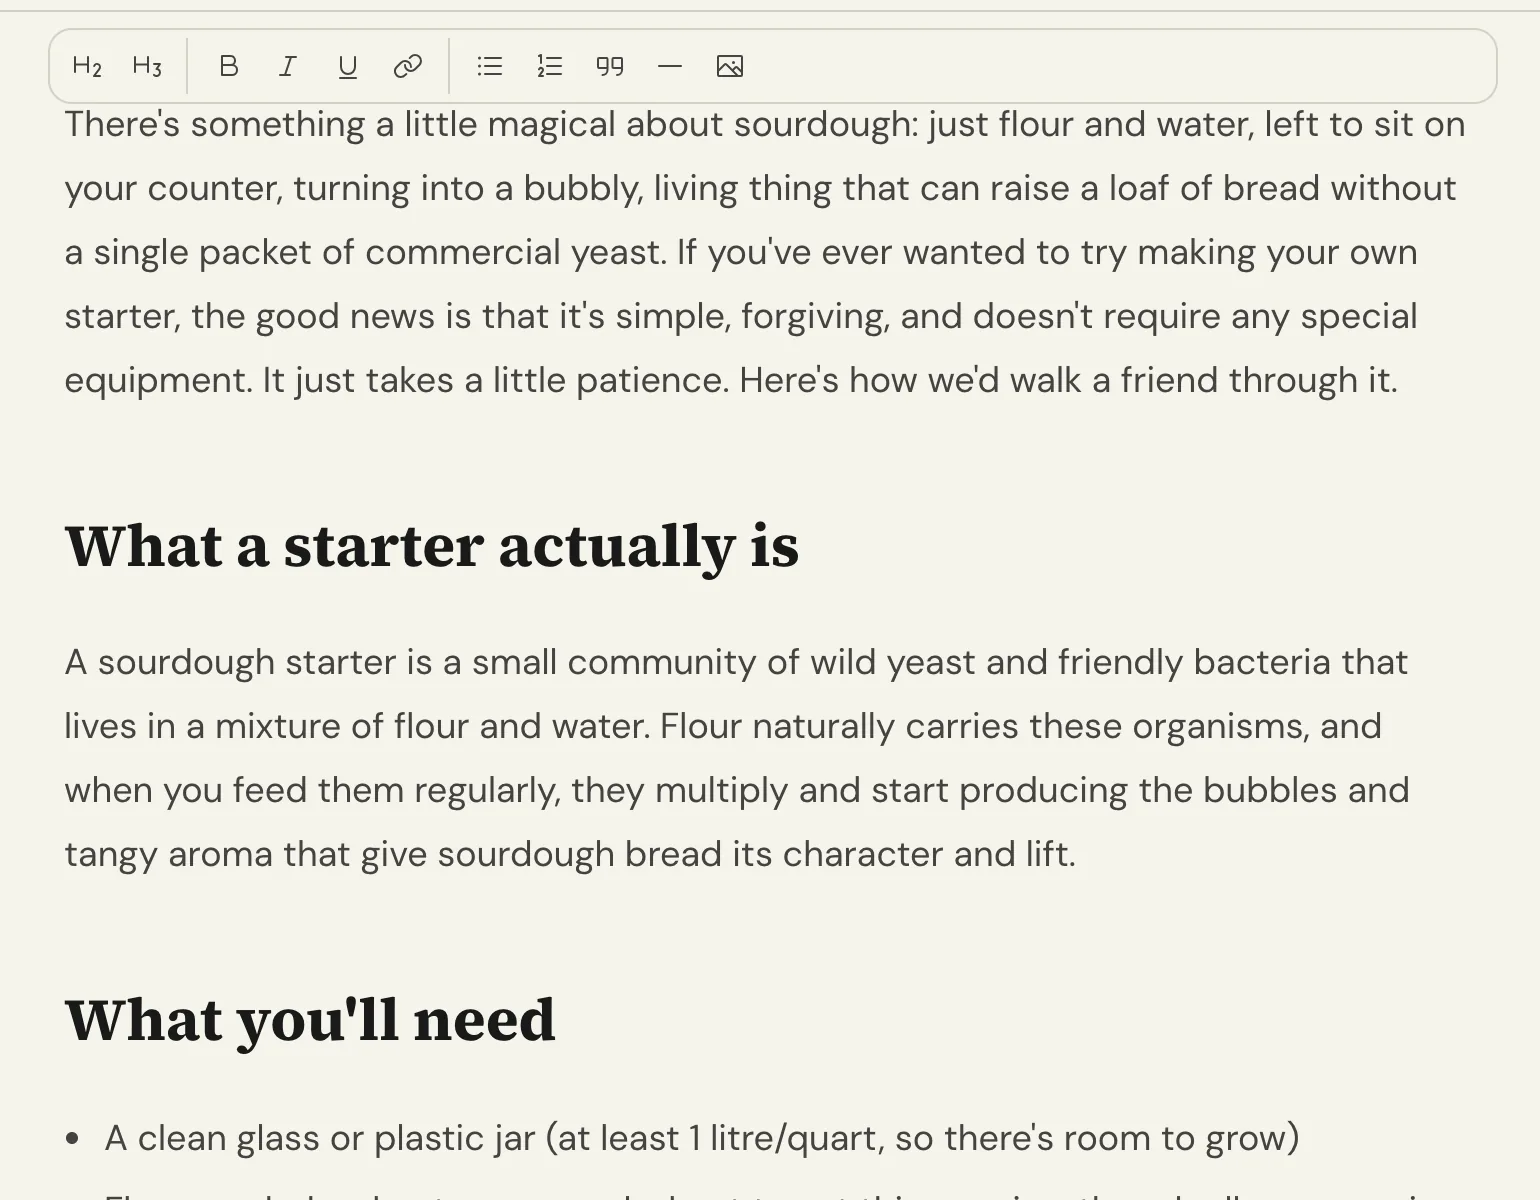
If you use subheadings, a table of contents builds itself on the right of the post so readers can jump to the part they want. The reading time is calculated automatically too.
The post is saved automatically like pages; the undo and redo buttons cover the whole post.
Address and search engines
- Address: The post's address (
/blog/how-to-make-a-sourdough-starter-at-home). It's generated from the title; change it if you like. If you change it after publishing, shared links will stop working. - SEO title and SEO description: The title and description shown on Google. If left empty, the post's title and summary are used; leaving them empty is usually fine.
Publish or schedule
When the post is ready, press Publish. The post appears at the top of the /blog page; its date is the day it was first published.
When you change a published post, the button turns into Update; your changes don't go live until you press it. To take a post offline, use Unpublish in Post settings.
Schedule for later
Press the arrow next to Publish, pick a Publish time and press Schedule. The post stays hidden on your site until then, then goes live on its own. The time is in your computer's time zone.
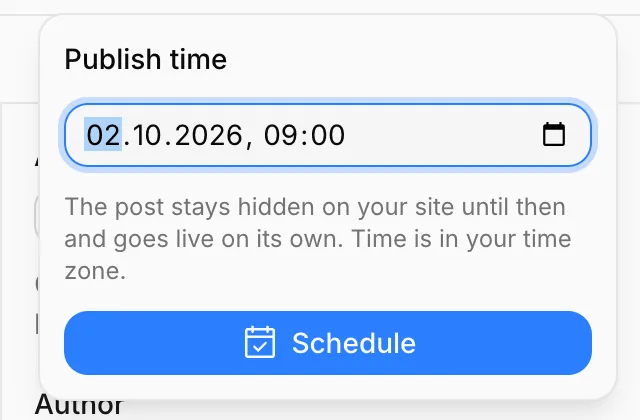
For a scheduled post, the same menu has Change time, Publish now and Unschedule.
Have the assistant draft a post
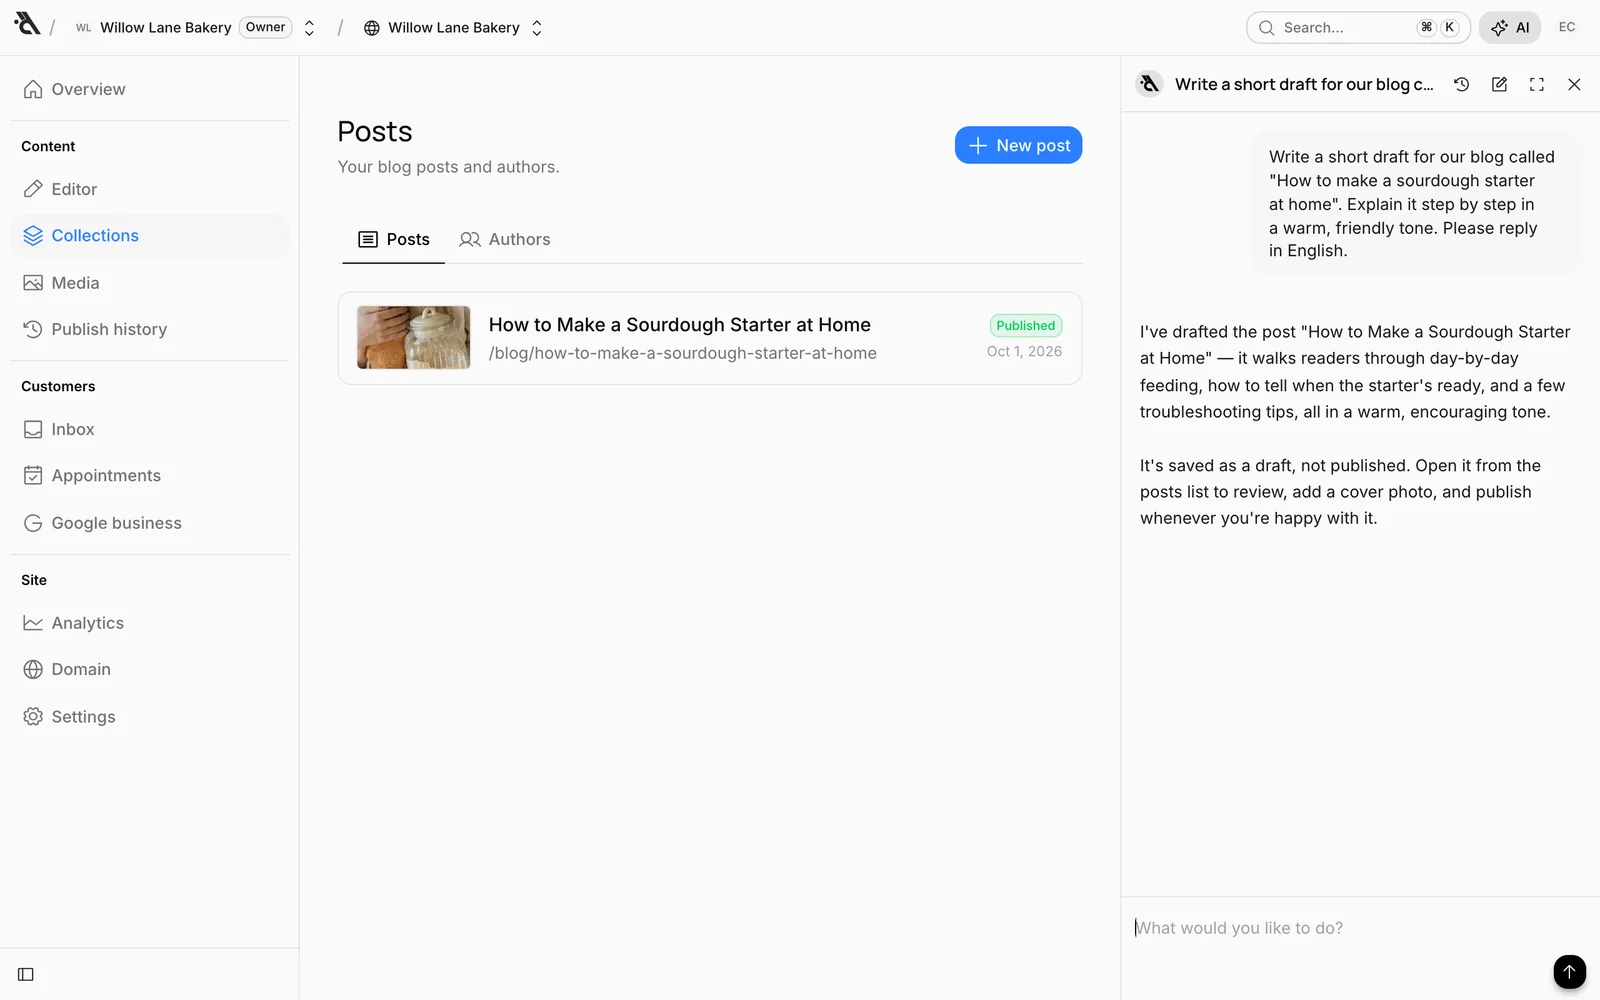
Give the assistant a topic and it drafts the post. In the video we wrote:
Write a short draft for our blog called "How to make a sourdough starter at home". Explain it step by step in a warm, friendly tone.
When the draft is ready, a Post draft ready notification appears at the bottom of the screen; open it with Open post.
A post written by the assistant isn't published; it waits as a draft. Read it, check details specific to your business (prices, times, product names), add a cover image and publish it yourself.
Authors
Each post shows an "About the author" box at the end and the author's name in the date line. Authors are profiles that belong to your site; they don't need to be dashboard users. For example, your head baker can appear as the author of your posts without ever logging in.
Manage your authors on the Authors tab of the Posts screen. When you create your first post, an author with your profile name is added automatically.
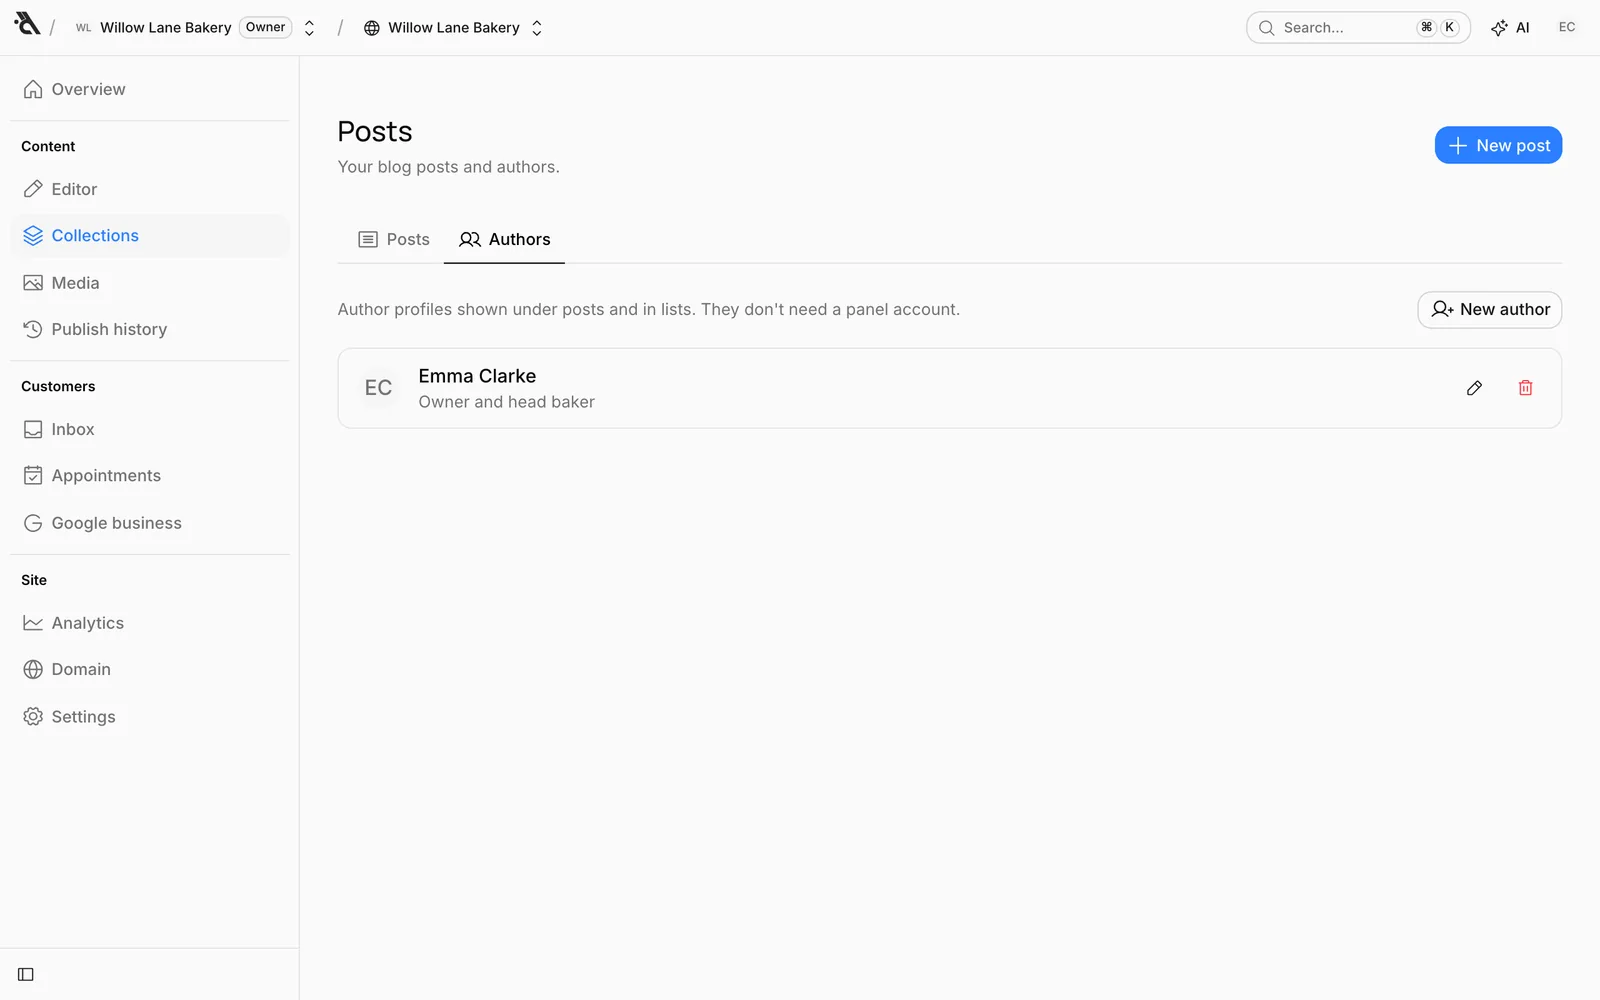
Press New author and fill in:
- Name and Photo
- Title: Shown under the name ("Owner and head baker", for example).
- Short bio: Shown in the author box at the end of the post.
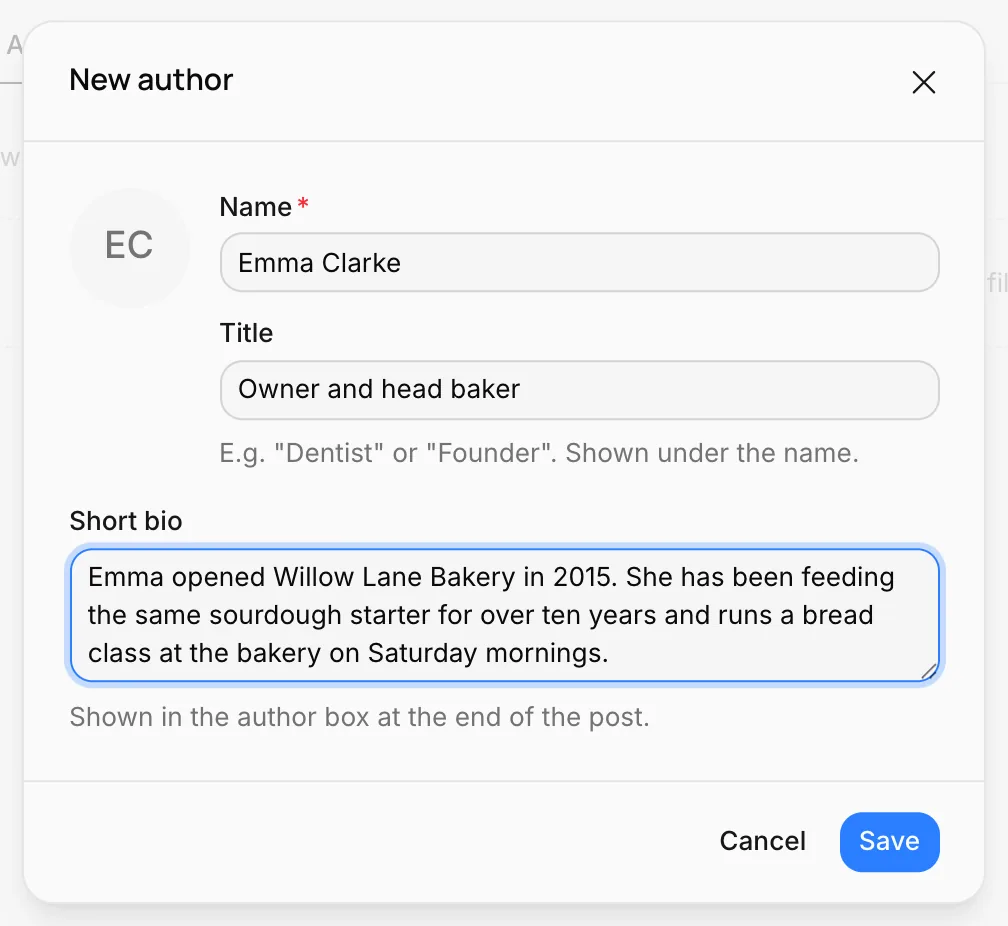
Change a post's author with the Author picker in Post settings. Author details don't wait for publishing; they're updated on every post as soon as you save. If you delete an author, their posts aren't deleted; they're left without an author.
The blog on your site
- Posts are listed on the
/blogpage. To add a "Latest posts" section to your home page, add a List block and choose Blog under What to list. See Collections. - Each post ends with links to the previous and next post.
- Your blog also has an RSS feed (
/blog/rss.xml), so readers can follow new posts in their news apps. - If your site is in more than one language, you can translate each post: pick the language with the language button at the top of the post editor and write, or press Translate with AI. A post without a translation isn't listed in that language.