QR menu
A Menu is a menu page for your restaurant, café, pastry shop or bakery that opens from a QR code. Customers scan the QR code on the table with their phone and your menu opens: categories, items, prices, photos, ingredients and allergens.
You create the menu as its own type, not as a page inside a site. That way your menu has its own address and its own QR code (willow-lane-menu.bunnyrain.app or menu.willowlanebakery.com).
Create a menu
On My sites, press New site, choose Menu as the type and type an address (willow-lane-menu). If your organization already has a site, its colors, logo and business name are copied to the menu.
A menu's sidebar has Menu, Design and Media; the site screens (Analytics, Domain, Settings) work as they do for a site.
Categories and items
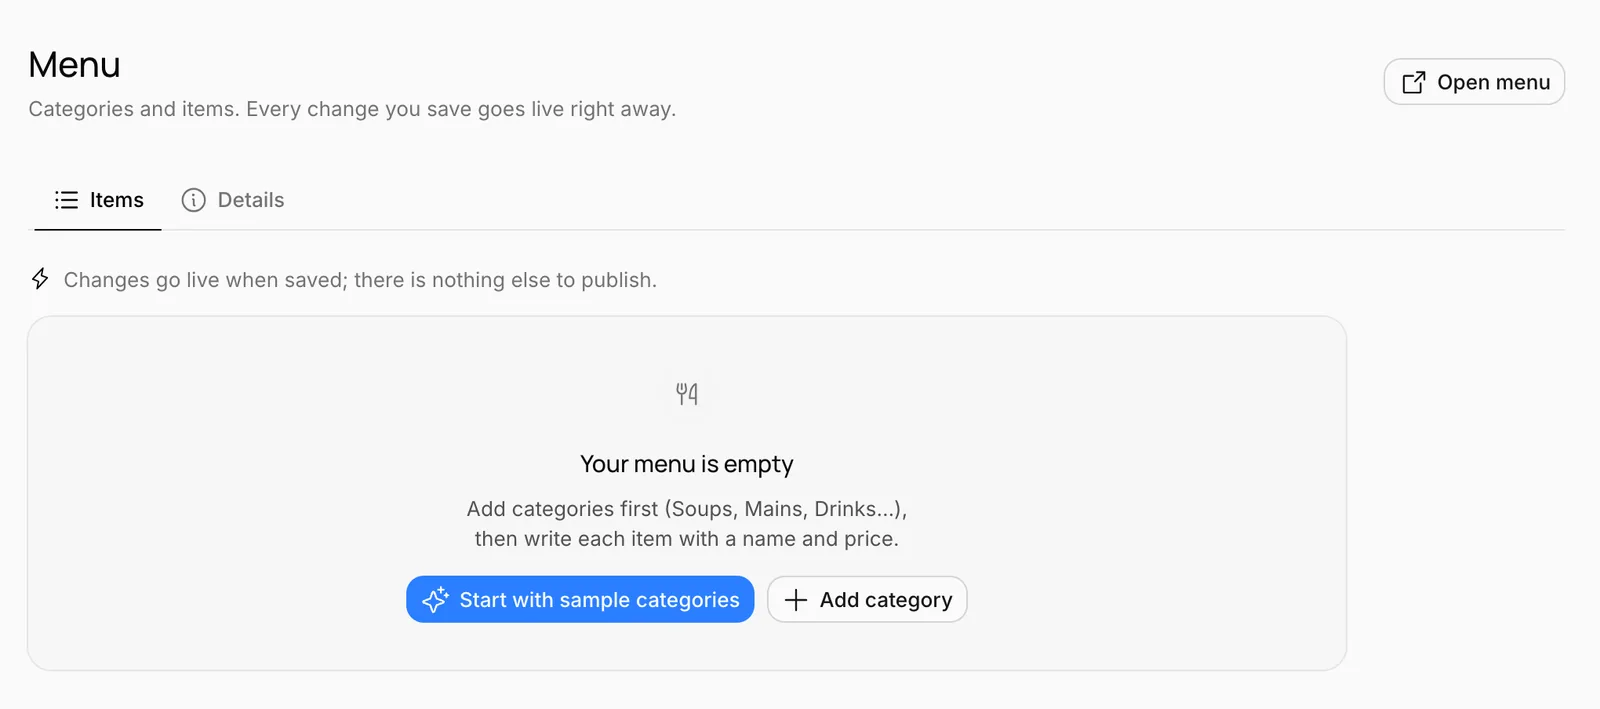
You build your menu on the Items tab of the Menu screen. While the menu is empty, start with Start with sample categories (Starters, Mains, Desserts, Drinks) or Add category.
Quick add
Every category has a quick-add row at the bottom: type the Item name, type the Price and press Enter. The item is added and the cursor goes back to the name box, so you can type your whole menu quickly from the keyboard.
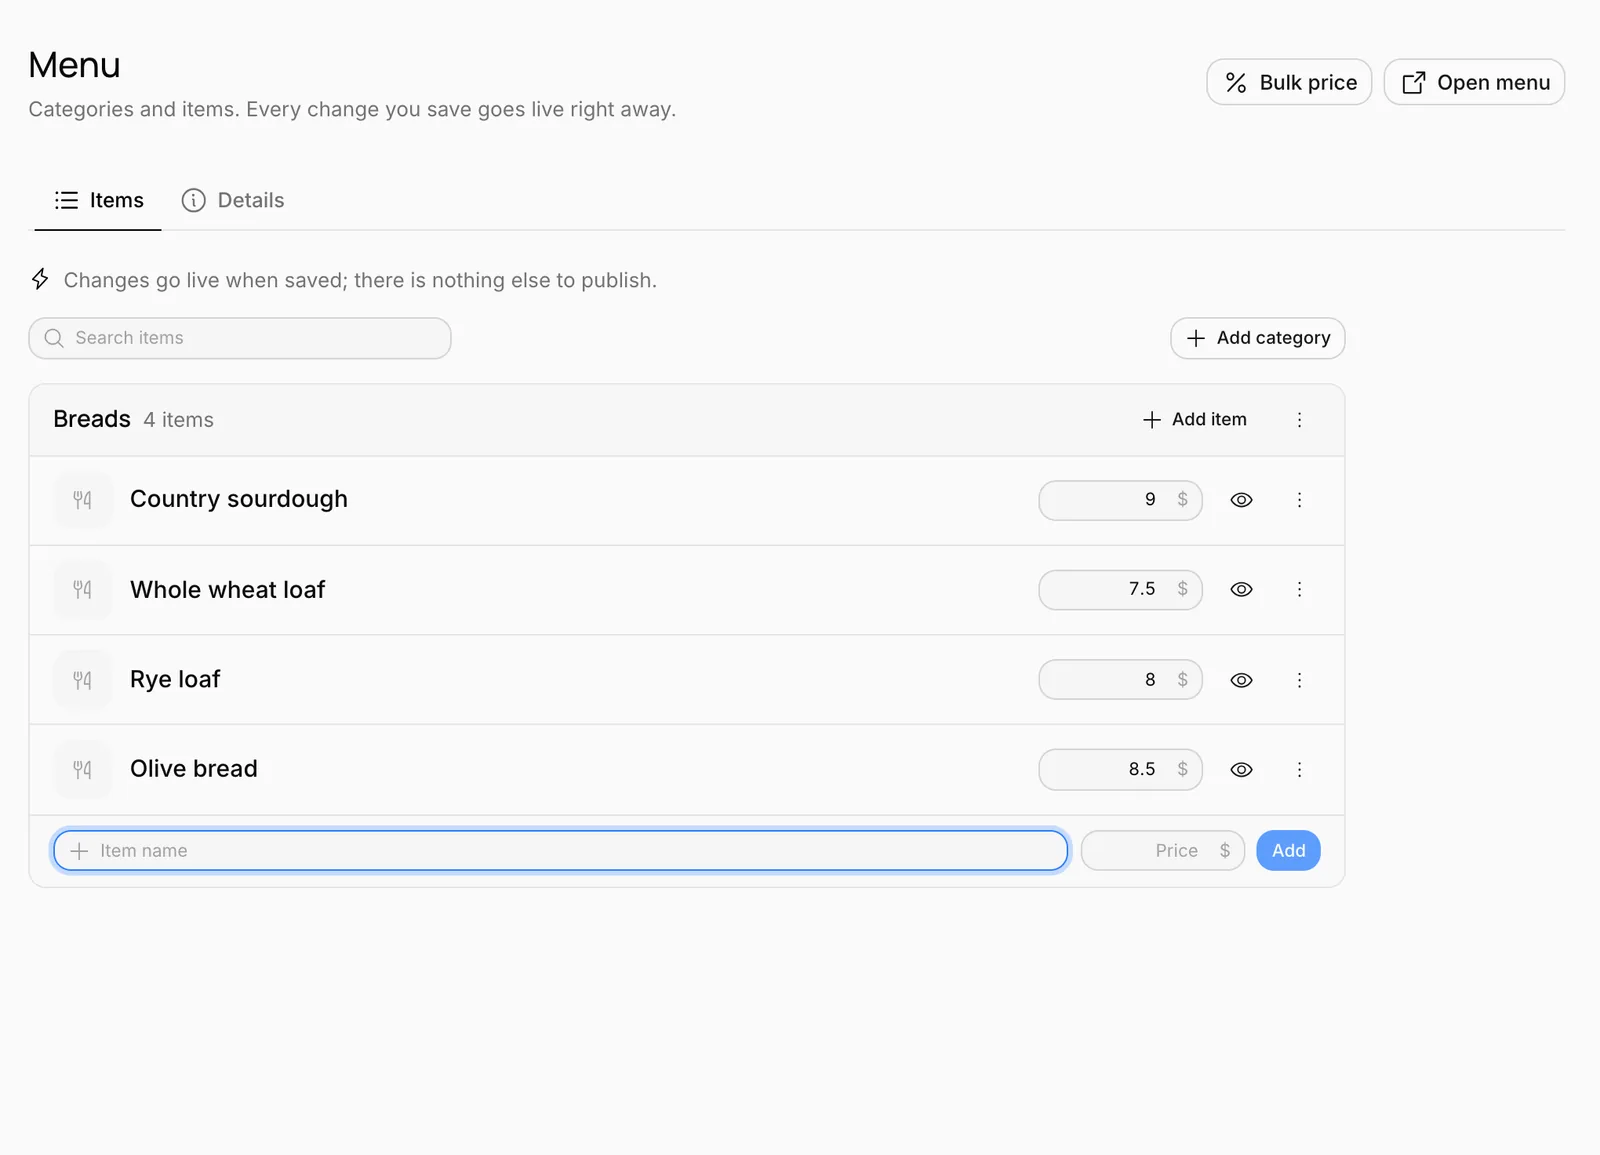
You can type prices like 9, 1,250 or 4.75. Click a price in the list to change it; it's saved when you leave the box or press Enter.
Item details
Click an item to open its details panel:
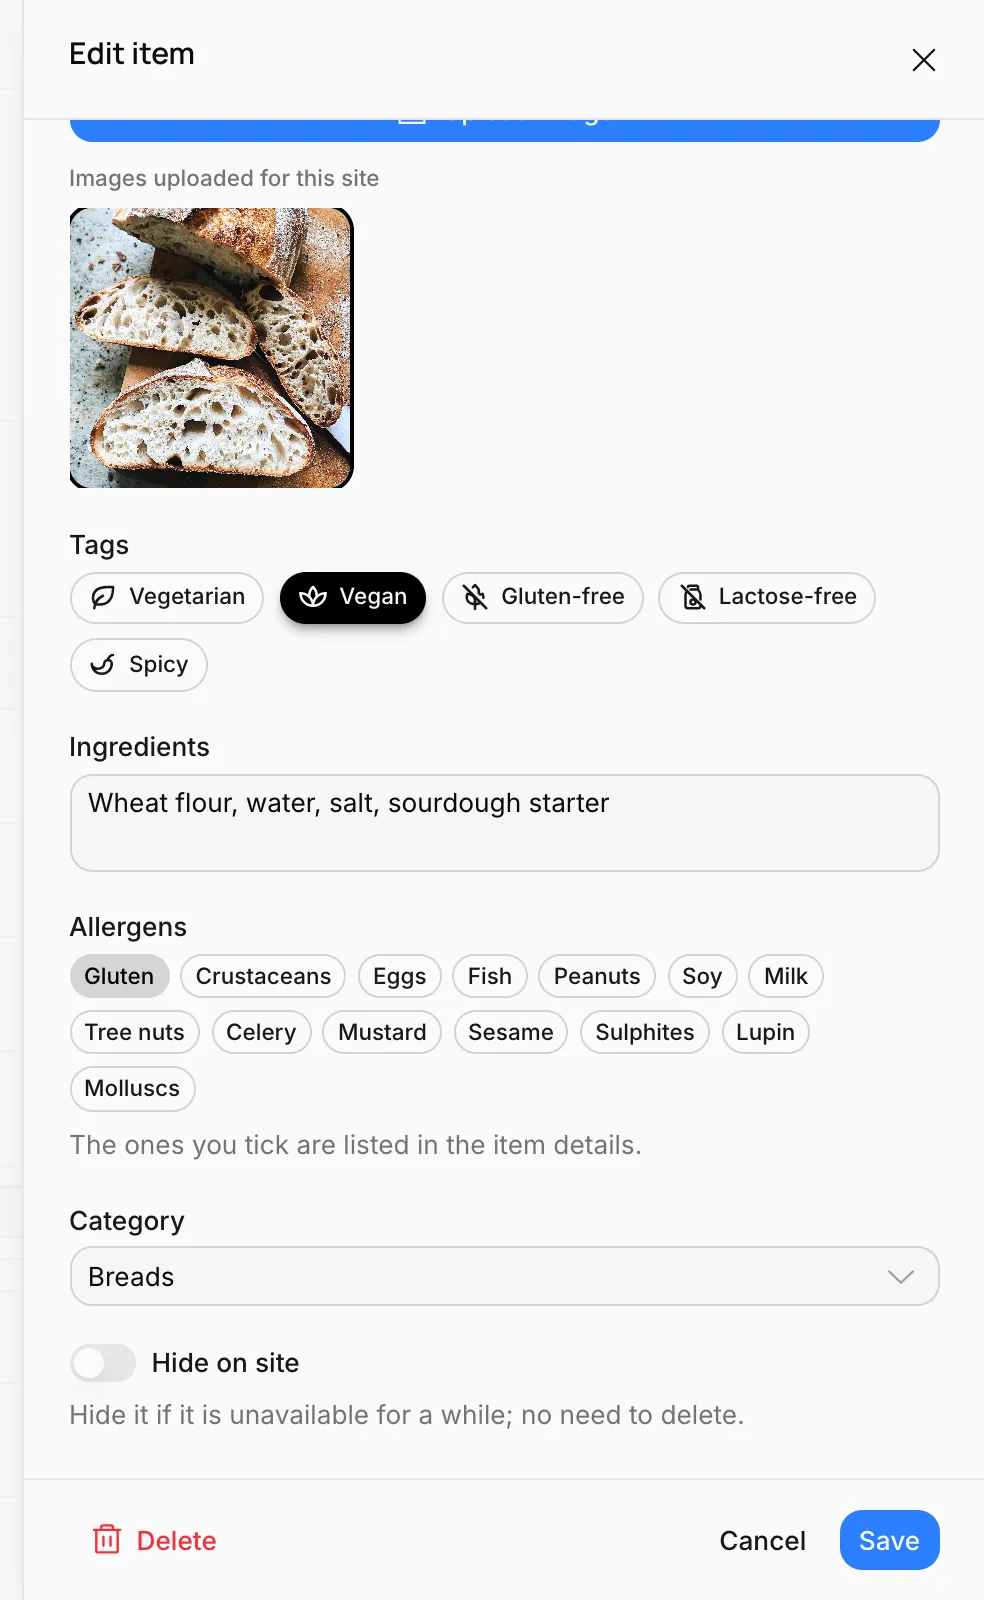
- Name, Price and Description
- More than one price (portion, size): Options like Half / Whole, Small / Large, 12 oz / 16 oz. Give each option a label.
- Image: A photo of the item. Menus have no stock photos; another kitchen's dish would mislead customers. Upload your own photos.
- Tags: Vegetarian, vegan, gluten-free, lactose-free, spicy. Customers can filter the menu by these tags.
- Ingredients and Allergens: Listed in the item's details. The allergen list covers the 14 major allergens.
- Category: Moves the item to another category.
- Hide on site: Hides an item that's unavailable for a while without deleting it. Menus have no "sold out" state; hide items you're out of.
Press Save and the change goes live.
Ordering, duplicating, deleting
The eye icon on an item's row hides or shows it. The three-dot menu has Edit, Duplicate, Move up, Move down, Move to category and Delete. Categories have the same menu.
After deleting or hiding, Undo appears at the bottom of the screen. If you delete a category, its items are deleted too; for temporary situations, hide instead of deleting.
Fill it in with the assistant
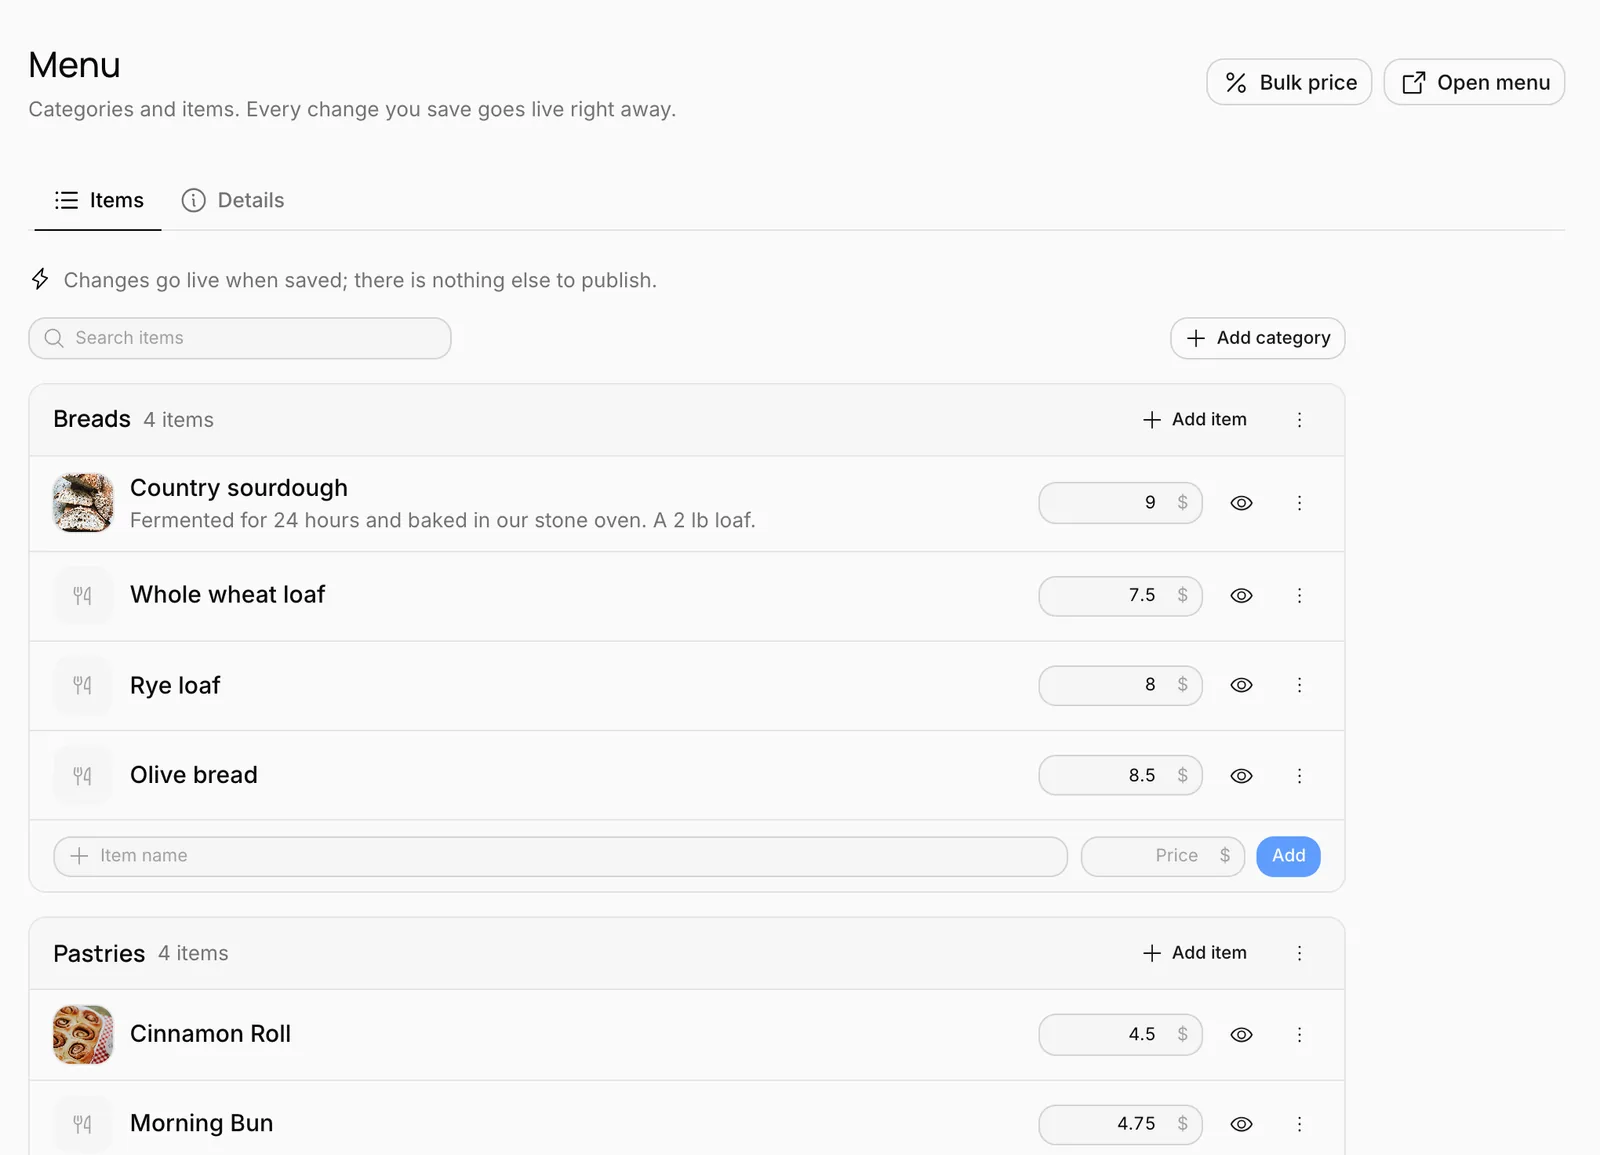
Write or paste your menu to the assistant and let it add the categories and items. For example:
Add these to the menu. Pastries: cinnamon roll 4.5, morning bun 4.75, butter croissant 4, scone of the day 3.75. Sweets: chocolate chip cookie 3, apple pie slice 6, banana bread slice 4. Hot drinks: drip coffee 3, latte 5, chai latte 5.25.
The assistant can do anything in the menu: change prices ("Make the latte 5.50"), hide items, write descriptions and ingredients, apply a bulk price change, translate the menu ("Write the Spanish version of the menu"). It doesn't make up prices; it asks for any price you didn't give. It can't add photos.
Bulk price change
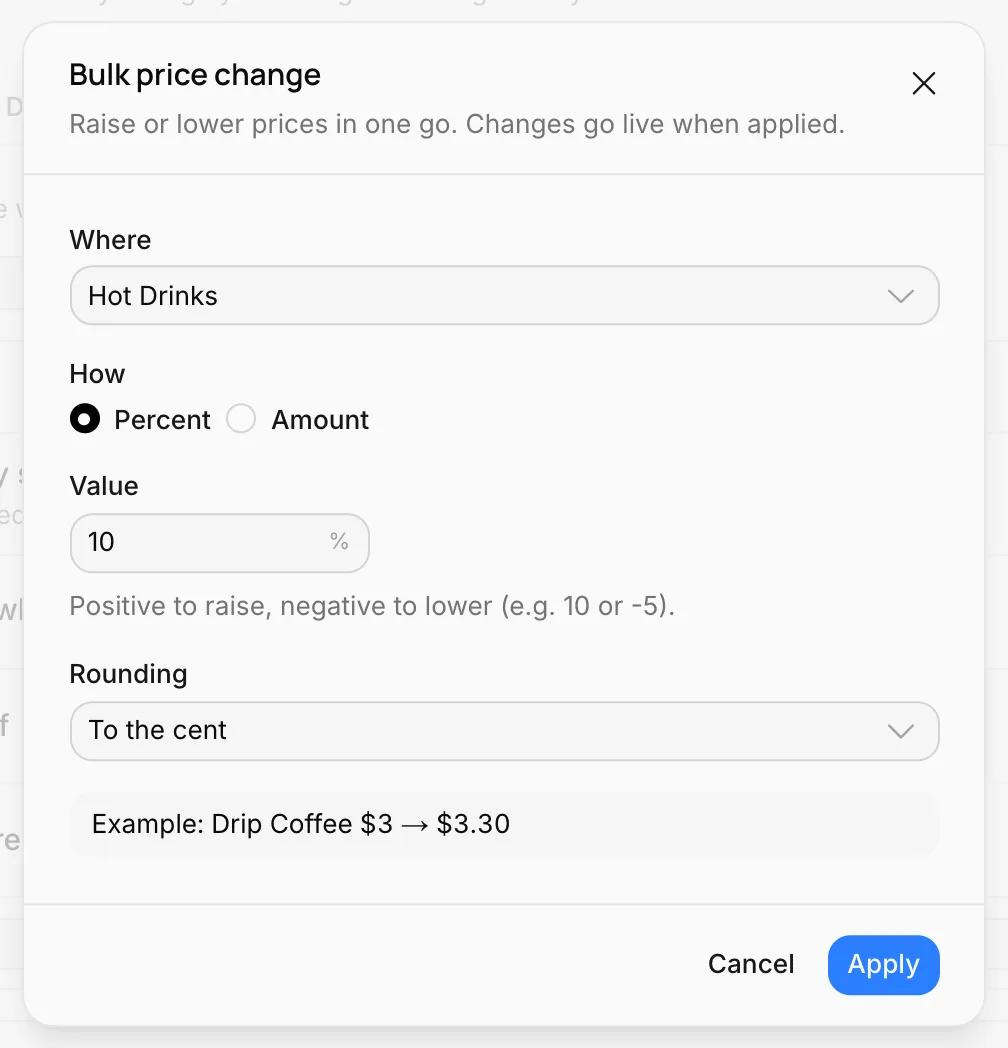
For a price increase or a discount, press Bulk price in the top right of the Menu screen:
- Where: The Whole menu or one category.
- How: Percent or Amount. Use a positive number for an increase and a negative one for a discount (10 or -5).
- Rounding: To the cent, Whole number, Multiple of 5 or Multiple of 10.
The bottom of the window shows a sample item's old and new price. Press Apply and every price (including price options) is updated and goes live.
Details
The information on the Details tab shows at the top and bottom of the menu:
- Business name, Logo and Short introduction
- Announcement: A highlighted strip at the top of the menu: a special offer, the soup of the day, a new item…
- Opening hours, Address and Phone: The address opens in maps, the phone number starts a call.
- Wi-Fi name and Wi-Fi password: Customers copy the password with one tap.
- Currency: TRY, EUR, USD or GBP.
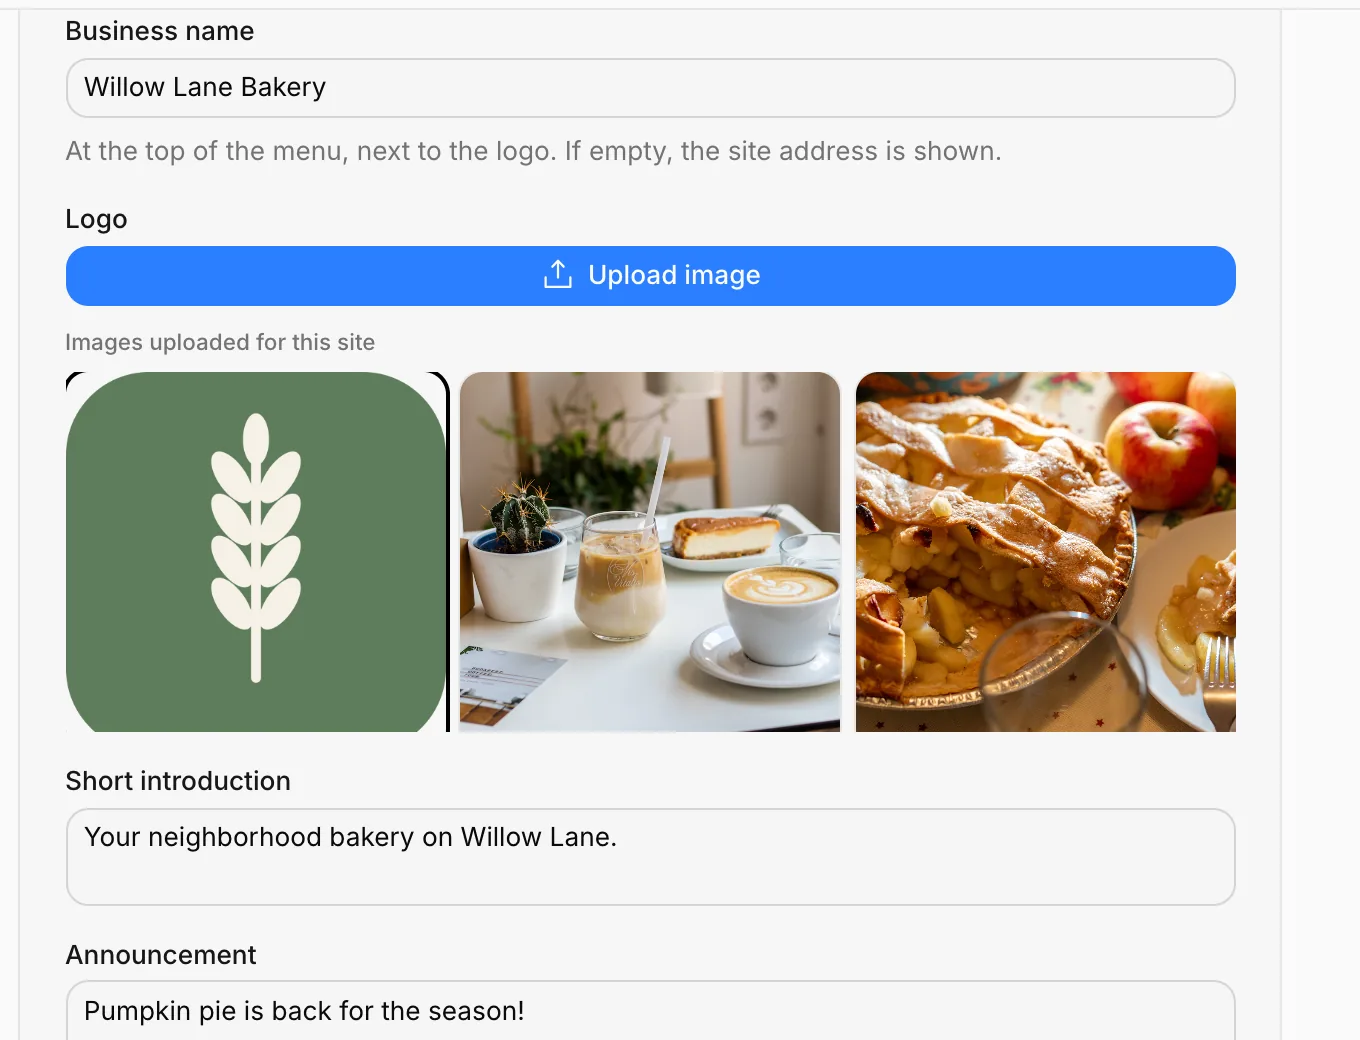
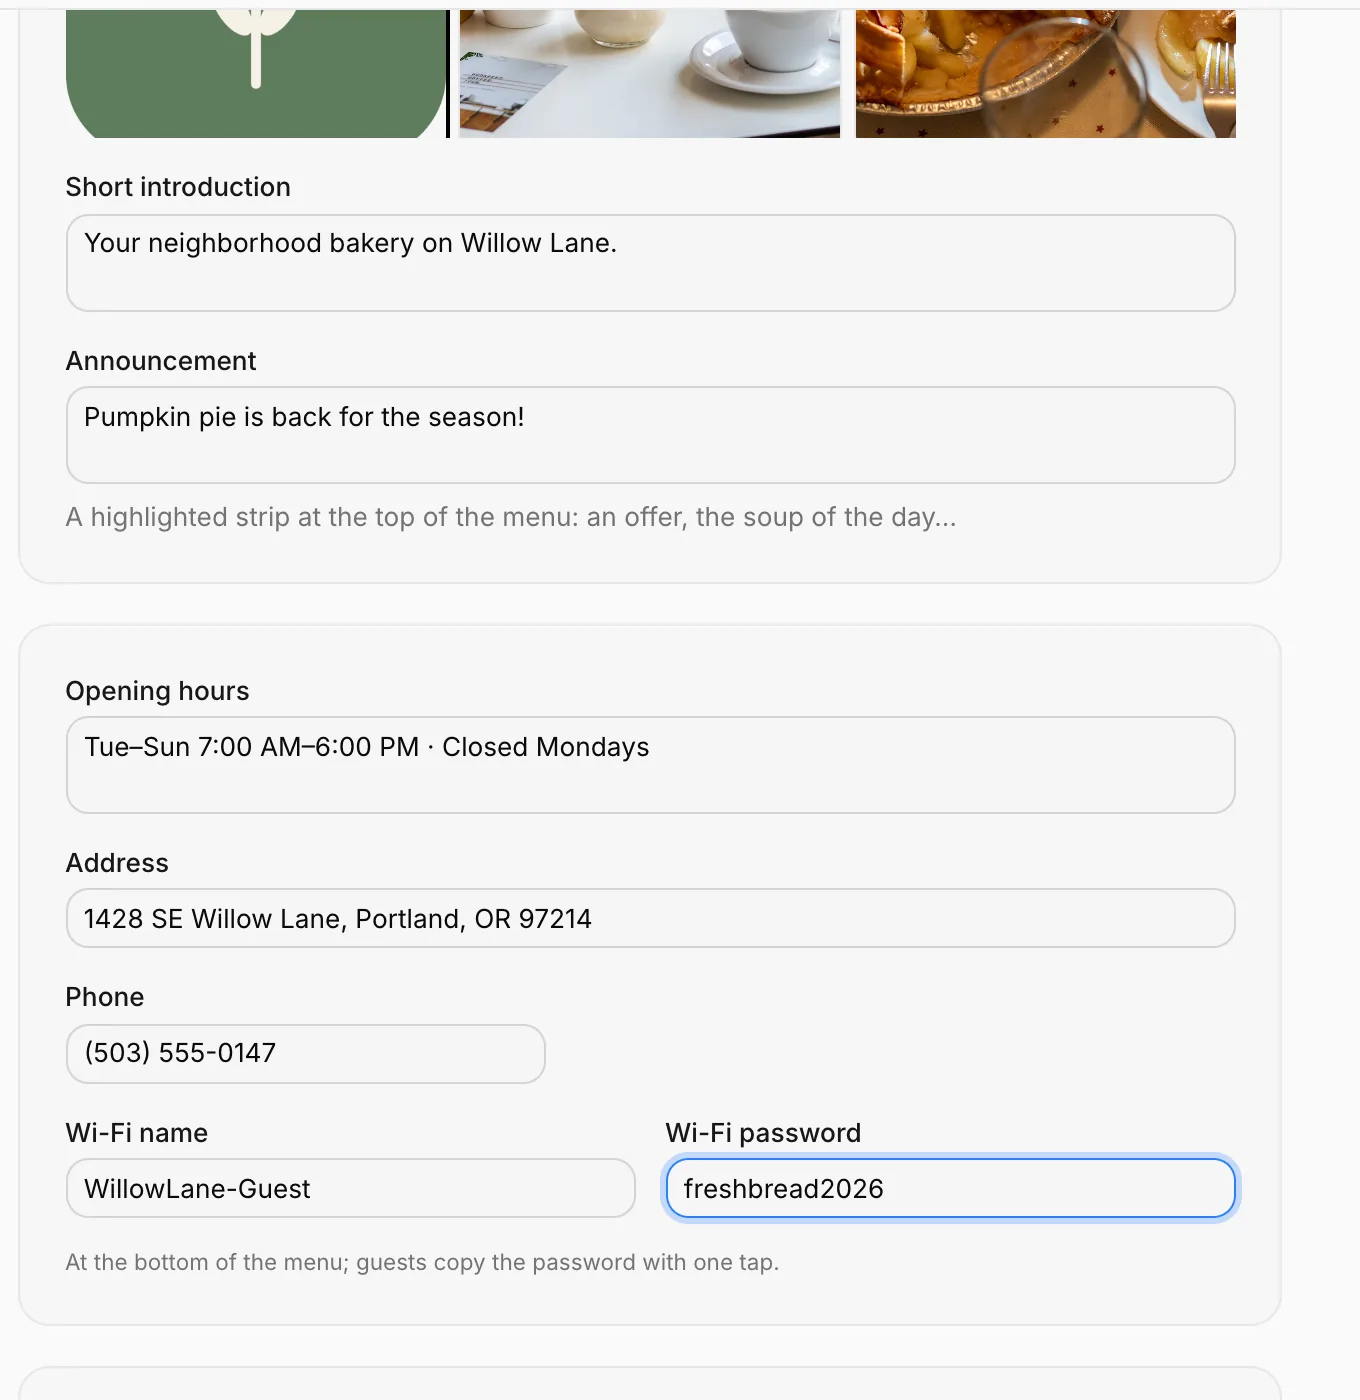
Press Save and the details go live.
Design
On the Design screen in the sidebar you choose the whole look of your menu. Twelve designs are grouped by how many photos they need:
| Group | Designs | When |
|---|---|---|
| Text first | Classic, Minimal, Elegant, Boxed, Newspaper, Compact | You have few or no photos. Images only open when an item is tapped. |
| Small images | List with thumbnails, Delivery app, Showcase | Some items have photos. |
| Photo-led | Photo cards, Feed, Carousel | Most items have good photos. |
Each design's preview is drawn with your own menu. On the right is a live phone-sized preview. Changing the design keeps the content exactly as it is.
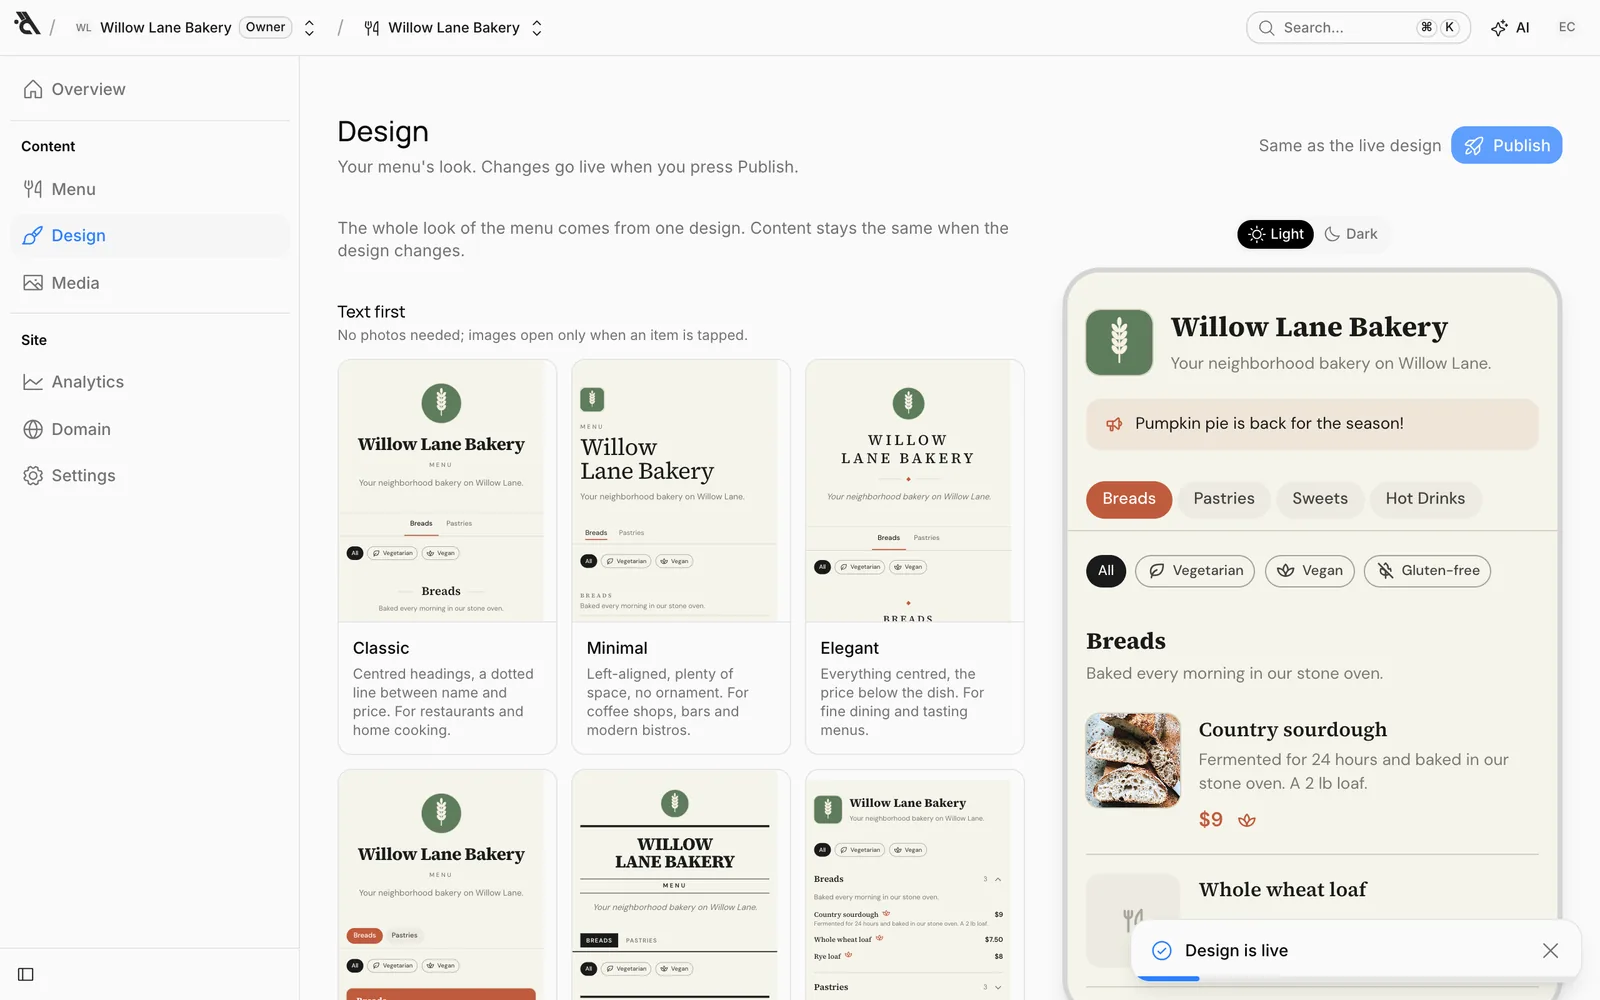
The Colours and type section has the same theme settings as a site (ready-made theme, colors, fonts…). See Theme.
Design and color changes are a draft: they show on the menu when you press Publish in the top right.
What customers see
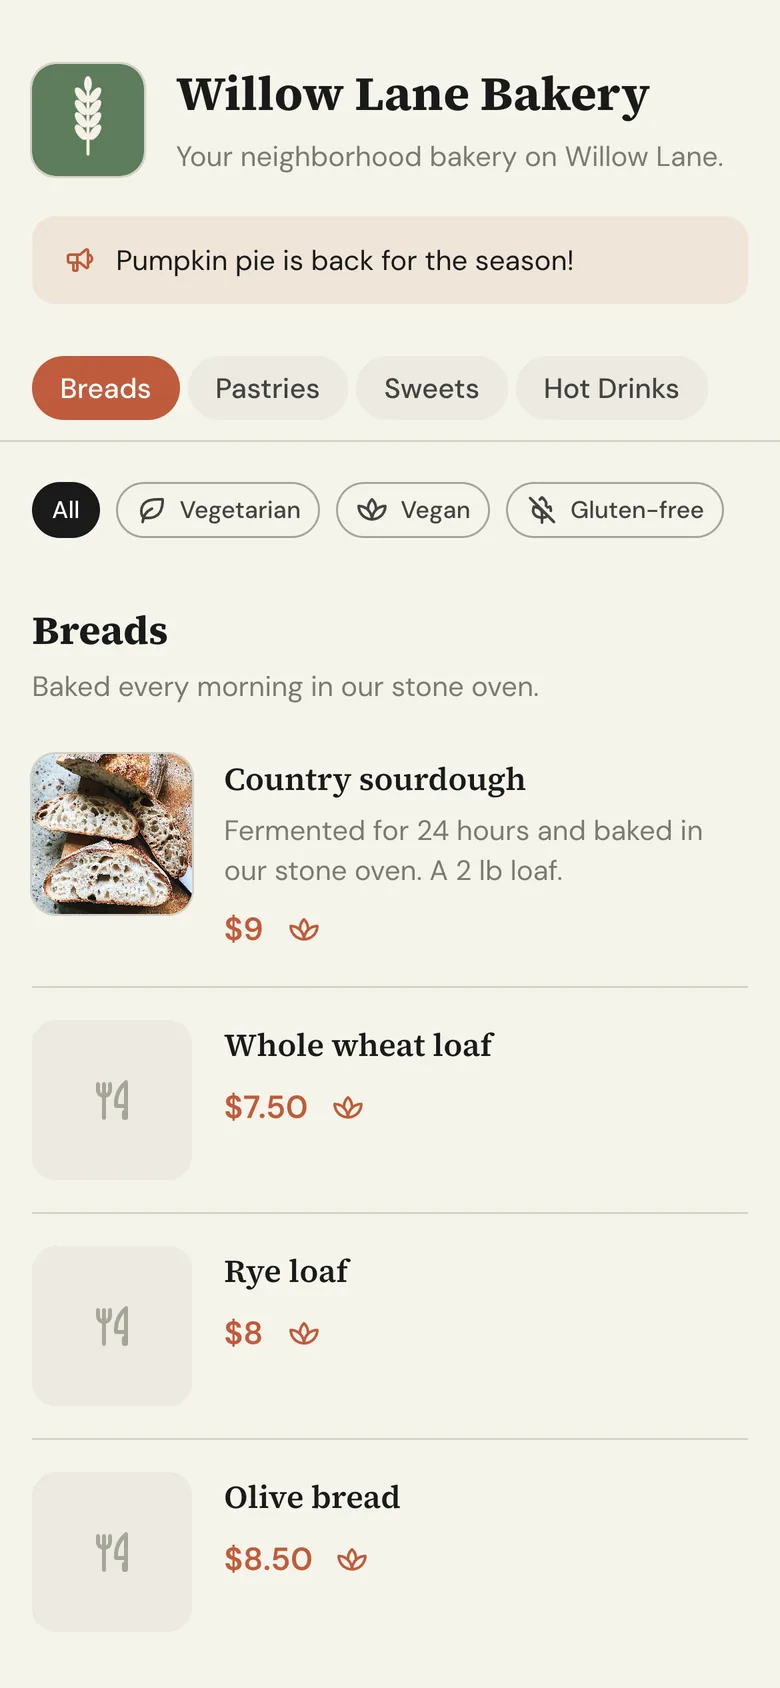
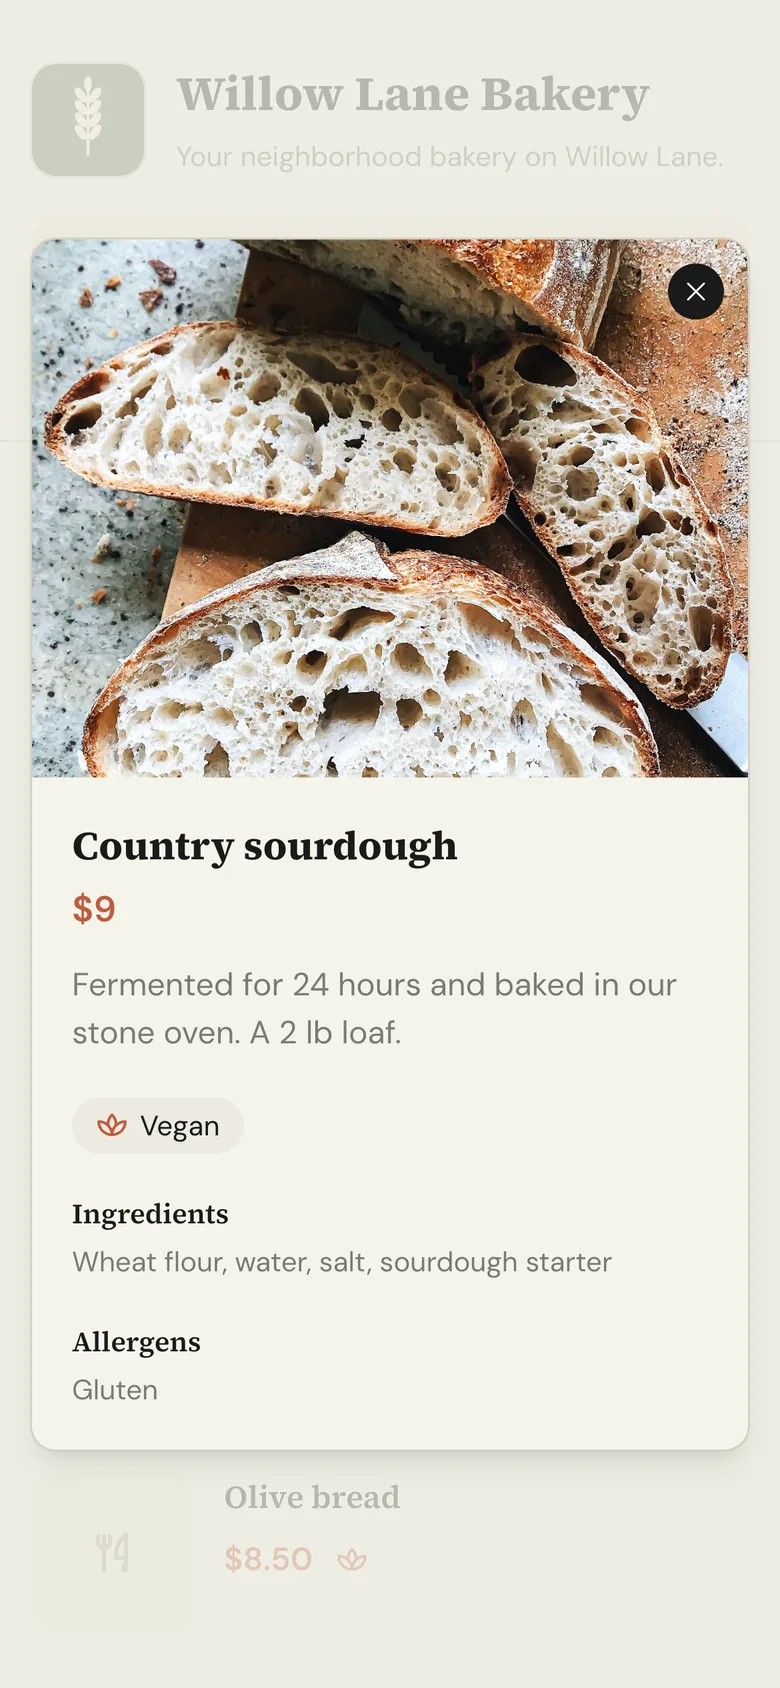
When customers scan the QR code, the menu opens. They move between categories with the category strip at the top and filter by tags (vegan, gluten-free…). Tapping an item opens its large photo, price options, ingredients and allergens.
Print the QR code
Download the QR code from the Share card on the menu's Overview screen: PNG for print, SVG for design tools. Put it on table cards, the window, the counter or flyers. See Overview.
menu.willowlanebakery.com). Printed codes then point to your domain and never need to change. See Connect your own domain.Settings
- Hide from search engines: If you don't want your menu to show up on Google, turn it on in Settings. The address opened from the QR code always works.
- To offer the menu in more than one language, add languages under Settings > Multiple languages, then ask the assistant to "Write the Spanish version of the menu". Menus aren't translated automatically; items you change later show in the main language until they're translated again.
- If someone on your team should only edit the menu, give them a role with just the menu permission; you can start from the Menu manager template when creating the role. See Members and roles.